Quick Answer
Adding outriggers to a kayak involves mounting stabilizer arms with flotation pods to either side of your hull using brackets, clamps, or bolt-through hardware. Most fishing kayak owners can complete a basic installation in 30-60 minutes using common tools, and the modification dramatically improves stability for standing, casting, and landing fish without permanently altering the kayak.
Key Takeaways
- Outriggers attach to kayak sides via mounting brackets and extend flotation pods 18-36 inches outward to prevent tipping
- DIY installation typically costs $80-$250 for materials and requires only basic hand tools
- Removable systems use clamps or track mounts, while permanent setups bolt through the hull for maximum strength
- Outriggers add 15-30 pounds of drag and reduce paddling speed by roughly 10-15% but eliminate capsize risk when standing
- Choose outriggers if you fish standing up, land large fish, or paddle in choppy conditions; skip them for speed-focused or narrow-water kayaking
- Proper placement 12-18 inches behind the seat prevents interference with paddle strokes
- Most sit-on-top and pedal kayaks accept outriggers; narrow touring kayaks often lack suitable mounting surfaces
What Are Kayak Outriggers and How Do They Work
Kayak outriggers are stabilizer systems that attach flotation pods on arms extending from both sides of your kayak, creating a wider base that resists tipping. The physics is simple: by moving buoyancy farther from the kayak’s centerline, outriggers increase the rotational force needed to capsize the boat, much like training wheels on a bicycle.
A typical outrigger system includes three main components:
- Mounting brackets that attach to the kayak hull or gunwales
- Stabilizer arms (usually aluminum or PVC tubes) that extend 18-36 inches outward
- Flotation pods at the arm ends (foam-filled tubes or inflatable bladders providing 5-15 pounds of buoyancy each)
When you lean to one side, the outrigger pod on that side dips into the water and provides immediate upward force that counteracts the tilt. For fishing kayak enthusiasts who stand to cast or fight fish, this extra stability is the difference between confidence and constant anxiety about swimming.
The trade-off is added width (your total beam increases from roughly 30 inches to 60-80 inches) and water resistance. Outriggers create drag that slows forward speed and makes tight turns more difficult, but most anglers consider this acceptable for the safety and fishing advantages gained.
DIY Kayak Outrigger Installation Step by Step
Installing outriggers on your kayak is straightforward if you follow a methodical approach. Most anglers complete their first installation in under an hour once parts are gathered.
Materials needed:
- Outrigger kit or individual components (arms, floats, brackets)
- Stainless steel bolts, washers, and nuts (if drilling)
- Marine-grade sealant or silicone
- Drill with bits (for permanent mounts)
- Adjustable wrench and screwdriver
- Measuring tape and marker
Installation steps:
Position the mounting brackets 12-18 inches behind your seat on both sides of the kayak, ensuring they’re level and symmetrical. Mark the locations with a pencil.
Attach brackets to the hull. For removable systems, tighten clamps around the gunwales or insert track-mount hardware into existing accessory rails. For permanent installations, drill pilot holes through the hull at marked points, apply marine sealant around each hole, then bolt brackets securely with washers on both sides.
Insert stabilizer arms into the bracket receivers and extend them 24-30 inches from the hull (adjust based on your kayak width and stability needs). Longer arms provide more stability but increase drag.
Attach flotation pods to the outer ends of each arm using the provided clamps or inserts. Ensure pods are oriented horizontally and sit at or just above the waterline when the kayak is loaded.
Test and adjust. Launch the kayak in calm water and check stability while seated and standing. If the kayak still feels tippy, extend the arms farther or add larger floats. If paddling feels sluggish, shorten the arms slightly.
Common mistake: Mounting brackets too far forward interferes with paddle strokes. Keep hardware behind your seating position to maintain full arm range during paddling.
Choose removable systems if you transport your kayak frequently or paddle in varying conditions. Permanent bolt-through mounts offer superior strength for ocean kayak fishing or when landing heavy fish, but they do create small holes in your hull that require proper sealing.
Outriggers vs Stabilizers for Kayaks: What’s the Difference
The terms “outriggers” and “stabilizers” are often used interchangeably in kayak fishing circles, but technically they describe the same concept: lateral flotation devices that prevent capsizing. Some manufacturers market their products as “stabilizer systems” to emphasize the safety benefit, while “outriggers” references the traditional Polynesian canoe design that inspired modern kayak versions.
If you encounter both terms while shopping, focus on the actual specifications rather than the label:
- Arm length and adjustability (longer = more stable but slower)
- Float volume (larger floats = more buoyancy = harder to tip)
- Mounting method (clamp-on, track-mount, or bolt-through)
- Material quality (marine-grade aluminum and UV-resistant foam last longest)
Some products labeled “stabilizers” are actually pontoon-style systems with large, fixed floats that remain in the water at all times, while traditional outriggers use smaller floats that only engage when the kayak tilts. Both work, but pontoon styles create more constant drag.

Float don't Sink: Get ready to set sail! Our kayak outrigger stabilizer provides more stability and makes you feel safe. Whether you're kayaking, canoeing, boating, or fishing, it is here to let you enjoy more stability and freedom during all water sports. Only for kayaks or boats with holes.
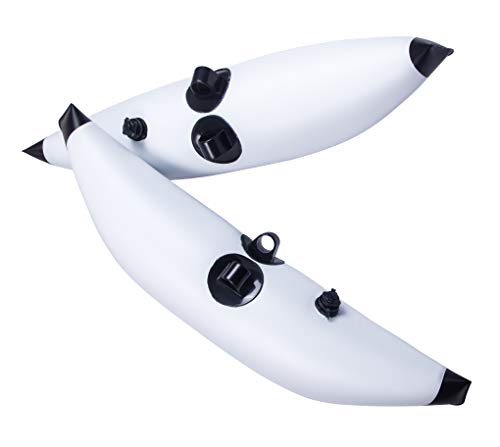
Free Comes with 4 repair patches,Designed and manufactured specifically for outdoor water sports enthusiasts

Stable and Safe: These outriggers with large buoyancy after inflation add stability to your kayak and make you feel safe.
How Much Do Kayak Outriggers Cost
Kayak outrigger systems range from $80 for basic DIY kits to $400+ for premium commercial products with quick-release mechanisms and adjustable geometry. Your budget should match your fishing style and installation preferences.
Price breakdown by type:
- DIY PVC builds: $50-$100 (materials from hardware stores, requires cutting and assembly)
- Entry-level commercial kits: $120-$180 (basic aluminum arms with foam floats, clamp mounts)
- Mid-range systems: $200-$280 (adjustable arms, larger floats, better hardware, track-compatible mounts)
- Premium outriggers: $300-$450 (quick-release brackets, telescoping arms, inflatable or replaceable floats, corrosion-proof materials)
For most kayak fishing enthusiasts, a $150-$200 system provides excellent value. These mid-range options include durable components that withstand saltwater exposure and offer enough adjustability to fine-tune stability for different conditions.
Hidden costs to consider: If you choose a bolt-through installation, budget an additional $15-$25 for marine sealant, stainless steel hardware, and possibly a kayak repair kit. Also factor in potential increases to your kayak transport costs, since the added width may require wider roof racks or trailer modifications.

Enhanced Stability for Kayaks & Canoes – Generation 2 outrigger system keeps your kayak or canoe balanced, reducing tipping and improving safety.

✫【Stable and Safe】These outriggers with large buoyancy after inflation add stability to your kayak and make you feel safe.

Wide Application: Kayak stabilizer is suitable for canoeing, kayaking, rowing, fishing, standing and beginners
Best Outriggers for Fishing Kayaks
The best outrigger system for your fishing kayak depends on your vessel’s design, your fishing environment, and whether you prioritize stability or easy removal. No single product suits every angler, but certain features consistently deliver better performance.
Top features to look for:
- Adjustable arm length: Lets you dial in the perfect stability-to-speed ratio for different conditions
- Quick-release mounts: Essential if you remove outriggers between trips or switch between fishing and recreational paddling
- Corrosion-resistant materials: Anodized aluminum arms and stainless steel hardware survive saltwater exposure
- Adequate float volume: Each float should provide at least 8-10 pounds of buoyancy for kayaks under 100 pounds; heavier boats need 12-15 pounds per side
Compatibility considerations:
Sit-on-top kayaks with flat, wide gunwales accept nearly any outrigger system. Pedal kayaks often include factory accessory tracks that make installation even simpler. Narrower sit-inside models may require custom bracket fabrication or specialized low-profile mounts.
If you fish standing up regularly, invest in a system with arms that extend at least 28 inches from the hull. Shorter arms work for seated fishing but won’t provide enough leverage to prevent tipping when your center of gravity rises. For anglers who target large species and need maximum stability during the fight, permanent bolt-through installations offer peace of mind that clamps can’t match.
Budget pick: Build your own using 1.5-inch PVC pipe, foam pool noodles, and stainless steel hose clamps for under $80. Performance won’t match commercial systems, but it’s a great way to test whether outriggers suit your fishing style before investing in premium gear.

STABLE PLATFORM FOR CANOE FISHING — Brocraft Canoe Outriggers & Stabilizers help add lateral stability to your canoe, reducing side-to-side rocking while fishing, paddling, casting, taking photos, or moving around the boat. A practical upgrade for anglers who want a more stable canoe.

Works with all kinds of kayak boats

【Dual Valves Design】: Dual valves allow for easy inflation and deflation in seconds.
Do I Need Outriggers on My Kayak for Stability
You need outriggers if your kayak feels unstable for your intended fishing activities, but many anglers fish successfully without them. The decision comes down to your kayak’s inherent stability, your comfort level, and your fishing techniques.
Add outriggers if you:
- Fish standing up and feel nervous about balance
- Land fish over 10 pounds and worry about being pulled overboard
- Paddle in choppy water, wakes, or tidal currents
- Carry heavy kayak gear that raises your center of gravity
- Are new to kayak fishing and building confidence
- Have mobility limitations that make balance difficult
Skip outriggers if you:
- Paddle a stable kayak with a beam over 34 inches and feel secure
- Fish exclusively while seated
- Prioritize speed and maneuverability over maximum stability
- Navigate narrow rivers, creeks, or tight cover where width is a liability
- Transport your kayak frequently and want to minimize setup time
Your kayak’s width is the biggest predictor of natural stability. Boats under 30 inches wide almost always benefit from outriggers if you plan to stand. Models between 30-34 inches are borderline, your weight, height, and balance skills determine whether you need help. Kayaks over 34 inches wide often provide enough inherent stability for most anglers to stand and cast confidently without additional flotation.
Test before buying: Borrow outriggers from a fellow angler or rent a kayak equipped with them to experience the stability difference firsthand. What feels essential to one person might feel unnecessary to another based on individual balance and risk tolerance.
Can You Add Outriggers to Any Kayak Model
You can add outriggers to most sit-on-top fishing kayaks and many recreational models, but some designs present installation challenges. The key factors are mounting surface availability, hull shape, and whether the kayak has sufficient structural strength to support the lateral forces outriggers create.
Kayak types that accept outriggers easily:
- Sit-on-top fishing kayaks with flat gunwales or accessory tracks
- Wide recreational kayaks with rigid hulls
- Pedal kayaks designed for fishing
- Tandem kayaks with adequate beam width
Kayak types that are difficult or unsuitable:
- Narrow touring kayaks under 24 inches wide (insufficient mounting surface and added width defeats the design purpose)
- Inflatable kayaks without rigid mounting points (clamps can’t grip properly and may damage fabric)
- Whitewater kayaks with rounded hulls (no flat surfaces for brackets)
- Ultra-lightweight racing kayaks (added weight and drag negate performance advantages)
Workarounds for challenging kayaks: If your kayak lacks suitable mounting surfaces, consider through-hull installations that distribute stress across larger areas using backing plates. For inflatables, specialized outrigger systems with wide strap mounts exist but cost significantly more than standard clamp-on versions.
Before purchasing outriggers, measure your kayak’s gunwale width and shape where you plan to mount brackets. Most commercial systems require at least 1.5 inches of flat or gently curved surface for secure clamping. Check your kayak manufacturer’s specifications or forums to see if other owners have successfully added outriggers to your specific model.
Outriggers Making My Kayak Harder to Paddle: Why
Outriggers increase paddling resistance because they add wetted surface area, create turbulence, and widen your kayak’s profile, all of which generate drag. The physics is unavoidable, but you can minimize the performance penalty through smart design choices and proper adjustment.
Why outriggers slow you down:
- Increased drag: Floats and arms disrupt smooth water flow along the hull
- Greater beam width: Wider boats require more energy to push through water
- Added weight: Most systems add 10-20 pounds, increasing the load you’re moving
- Interference with paddle stroke: Poorly positioned arms force you to lift your paddle higher, wasting energy
How to reduce the paddling penalty:
Shorten the arms when you don’t need maximum stability. Many adjustable systems let you slide arms inward for transit and extend them only when fishing.
Angle floats slightly upward so they ride just above the waterline during normal paddling and only dip when the kayak tilts. This keeps them out of the water flow most of the time.
Use streamlined floats rather than bulky foam noodles. Torpedo-shaped pontoons cut through water more efficiently than cylindrical designs.
Remove outriggers entirely for long-distance paddling or when fishing calm water where you won’t stand up.
Expect outriggers to reduce your cruising speed by 10-15% compared to your kayak’s unmodified performance. If you normally paddle at 3 mph, you’ll drop to roughly 2.5-2.7 mph with outriggers deployed. For most fishing situations where you’re covering short distances between spots, this trade-off is acceptable for the stability gained.
When drag becomes a deal-breaker: If you regularly paddle more than 2 miles to reach fishing grounds, consider a removable outrigger system you can stow during transit and deploy only when you arrive. This gives you speed when you need it and stability when it matters most.
How to Attach Outriggers Without Drilling Holes in Kayak
You can attach outriggers without drilling by using clamp-on brackets, accessory track mounts, or strap-based systems that grip the kayak’s existing structure. These non-invasive methods preserve your kayak’s hull integrity and resale value while still providing solid stability.
Clamp-on brackets are the most popular no-drill option. They feature adjustable jaws that tighten around your kayak’s gunwales using threaded knobs or lever mechanisms. Quality clamps distribute pressure across 2-3 inches of surface area to prevent stress cracks and include rubber padding to protect the hull finish.
Installation tips for clamp systems:
- Tighten firmly but don’t over-torque, you want secure attachment without crushing the plastic
- Position clamps over reinforced areas of the hull when possible (near bulkheads or thicker sections)
- Check tightness before each trip, as vibration and temperature changes can loosen hardware
- Add a safety strap or bungee as backup retention in rough water
Track-mount systems work if your kayak has factory-installed accessory rails (common on modern fishing kayaks). These use sliding T-bolts that insert into the track channel and lock in place, providing tool-free installation and infinite positioning along the rail length. Track mounts are more secure than basic clamps and allow quick removal for transport.
Strap-based systems wrap around the entire kayak hull using heavy-duty nylon webbing with cam buckles. They’re the least common option but work well for inflatable fishing kayaks or unusual hull shapes that defeat clamps. The downside is longer setup time and potential for straps to shift during use.
Stability comparison: Properly installed clamp-on outriggers provide 90-95% of the stability of bolt-through systems for most fishing situations. The difference becomes noticeable only in extreme conditions (heavy surf, large fish fights) where maximum strength matters. For typical lake and river kayak fishing, non-invasive mounts are completely adequate.
Are Outriggers Worth It for Beginners
Outriggers are especially valuable for beginners because they eliminate the fear of capsizing while you develop balance and boat-handling skills. The confidence boost alone makes them worthwhile during your first season of kayak fishing, even if you eventually outgrow the need for them.
Benefits for new kayak anglers:
- Faster skill development: You focus on fishing techniques rather than constantly worrying about balance
- Safer learning curve: Mistakes that would capsize an unmodified kayak become minor wobbles with outriggers
- More fishing time: You spend less energy on stability and more on actually catching fish
- Standing practice: You can safely experiment with stand-up fishing to see if you enjoy it
When beginners should skip outriggers:
If you’re learning on a stable kayak wider than 34 inches and plan to fish seated, your money might be better spent on other kayak gear like a quality paddle, PFD, or fish finder. Outriggers solve a specific problem, insufficient stability, so they’re only worth the investment if that problem exists for your situation.
The confidence factor: Many experienced anglers report that outriggers helped them transition from nervous beginner to confident kayak angler in half the time it would have taken otherwise. Being able to stand, turn, and reach for gear without fear accelerates your learning and makes the sport more enjoyable from day one.
Consider outriggers a training tool you might eventually remove once your balance improves and you learn your kayak’s limits. Alternatively, you might discover you prefer the rock-solid stability and keep them permanently installed. Either outcome is fine, the goal is to enjoy fishing safely while you develop skills.
Common Mistakes When Installing Kayak Outriggers
The most common installation mistake is mounting brackets too far forward, which causes the stabilizer arms to interfere with your paddle stroke. This forces you to lift your paddle higher on each stroke, creating fatigue and reducing efficiency. Always position mounting hardware 12-18 inches behind your seat to keep arms clear of your paddling zone.
Other frequent errors:
Uneven arm extension: If one outrigger extends farther than the other, your kayak will list to one side and track poorly. Measure carefully and ensure both arms are identical lengths before tightening hardware.
Insufficient float buoyancy: Using floats that are too small for your kayak’s weight means the outriggers will submerge too deeply when you lean, reducing their effectiveness. Match float volume to your loaded kayak weight, heavier setups need larger floats.
Over-tightening clamps: Excessive force can crack plastic hulls, especially in cold weather when the material is more brittle. Tighten clamps firmly but stop when you feel solid resistance.
Ignoring float orientation: Floats should sit horizontally at the waterline, not angled up or down. Improper angle reduces the effective buoyancy and can cause the outrigger to dive under waves rather than ride over them.
Forgetting to seal bolt holes: If you drill through the hull for permanent mounts, every hole must be sealed with marine-grade sealant to prevent water intrusion. Even small leaks can lead to waterlogged foam or structural damage over time.
Not testing before the trip: Always do a stability test in calm, shallow water near shore before heading out to your fishing spot. This lets you adjust arm length, float position, and mounting tightness in a safe environment rather than discovering problems a mile from land.
Storage and transport oversight: Outriggers significantly increase your kayak’s width, which affects how it fits on roof racks, in truck beds, and through garage doors. Plan your kayak transport strategy before installation, and consider removable systems if space is tight.
Removable vs Permanent Kayak Outriggers: Which Is Better
Removable outriggers are better for anglers who value versatility and frequently transport their kayaks, while permanent installations suit those who prioritize maximum strength and fish in demanding conditions. Neither option is universally superior, the right choice depends on your specific fishing patterns and logistics.
Removable outrigger advantages:
- Quick installation and removal (typically 5-10 minutes)
- No hull modifications required
- Easier transport and storage when removed
- Flexibility to fish with or without stabilizers based on conditions
- Better resale value (kayak remains unmodified)
Removable outrigger disadvantages:
- Slightly less secure than bolt-through mounts
- Clamps can loosen over time and require checking
- May shift position during rough water or impacts
- Setup time before each trip (if you remove them between uses)
Permanent outrigger advantages:
- Maximum strength and security
- No risk of clamps loosening or shifting
- One-time installation (no repeated setup)
- Can support heavier loads and larger fish fights
- Cleaner appearance (no external clamps)
Permanent outrigger disadvantages:
- Requires drilling holes in your kayak hull
- Difficult to remove if you change your mind
- Complicates transport (always full width)
- Reduces resale value for buyers who don’t want outriggers
- Potential for leaks if installation isn’t perfect
Decision framework: Choose removable systems if you paddle different water types (calm lakes vs choppy bays), transport your kayak frequently, or aren’t certain you’ll want outriggers long-term. Choose permanent installations if you fish exclusively in conditions that demand maximum stability, rarely transport your kayak, or want the strongest possible setup for landing big fish.
Many anglers start with removable outriggers to test the concept, then upgrade to permanent mounts once they’re certain outriggers are essential to their fishing style. This two-stage approach costs more overall but eliminates the risk of drilling holes in your kayak only to discover you don’t like fishing with outriggers.
Outriggers Interfering With Kayak Storage and Transport: Solutions
Outriggers add 30-50 inches to your kayak’s total width, which creates storage and transport challenges that require planning. The extended beam won’t fit through standard doorways, may exceed roof rack width, and complicates stacking if you own multiple kayaks.
Transport solutions:
Remove arms for transit: Most outrigger systems let you detach the stabilizer arms from mounting brackets in under five minutes. Store the arms inside your kayak or vehicle, leaving only the low-profile brackets attached. This reduces width to near-stock dimensions.
Rotate arms parallel to hull: Some adjustable systems allow you to swing arms forward or backward so they run alongside the kayak rather than perpendicular to it. This keeps everything attached but reduces width for transport.
Upgrade to wider roof racks: If you prefer to transport your kayak fully rigged, install roof rack crossbars that extend beyond your vehicle’s width. Ensure the total width (vehicle plus kayak) doesn’t exceed legal limits in your state (typically 8 feet without special permits).
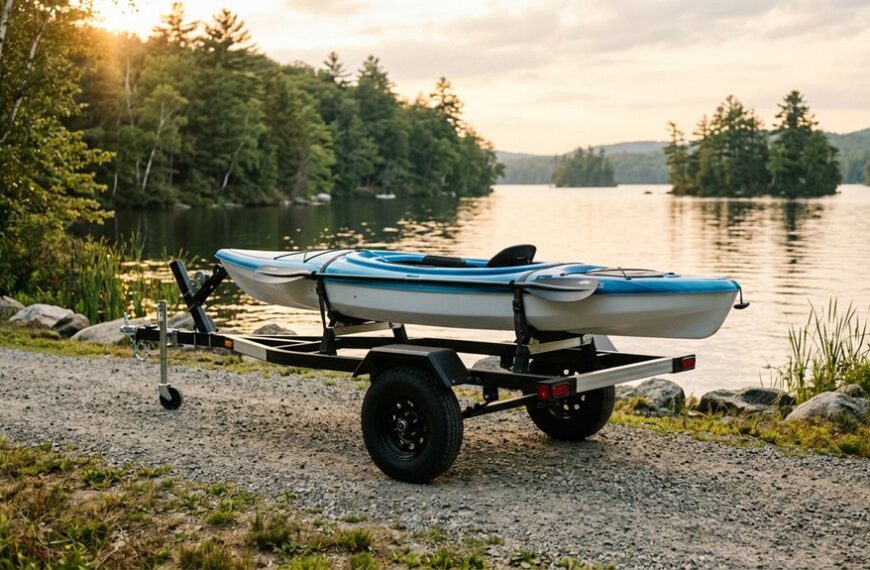
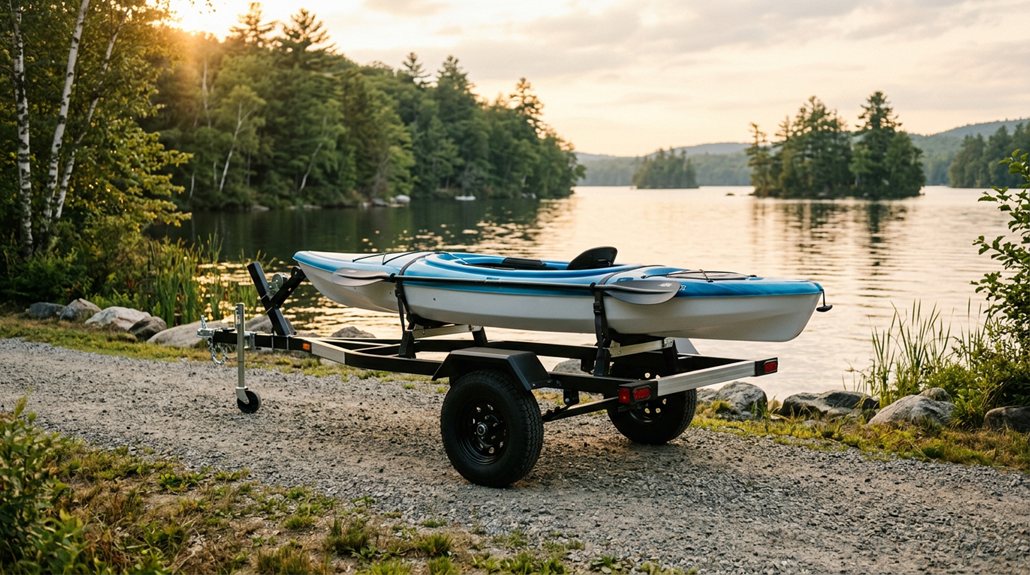
Use a trailer: Kayak trailers easily accommodate the extra width and eliminate roof loading entirely. This is the best solution if you have multiple kayaks or fish with partners who also use outriggers.
Storage solutions:
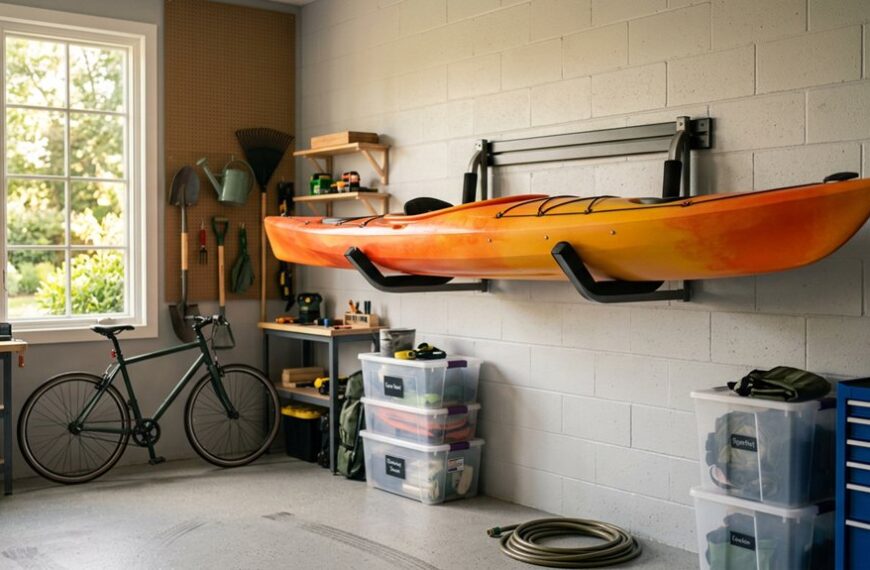
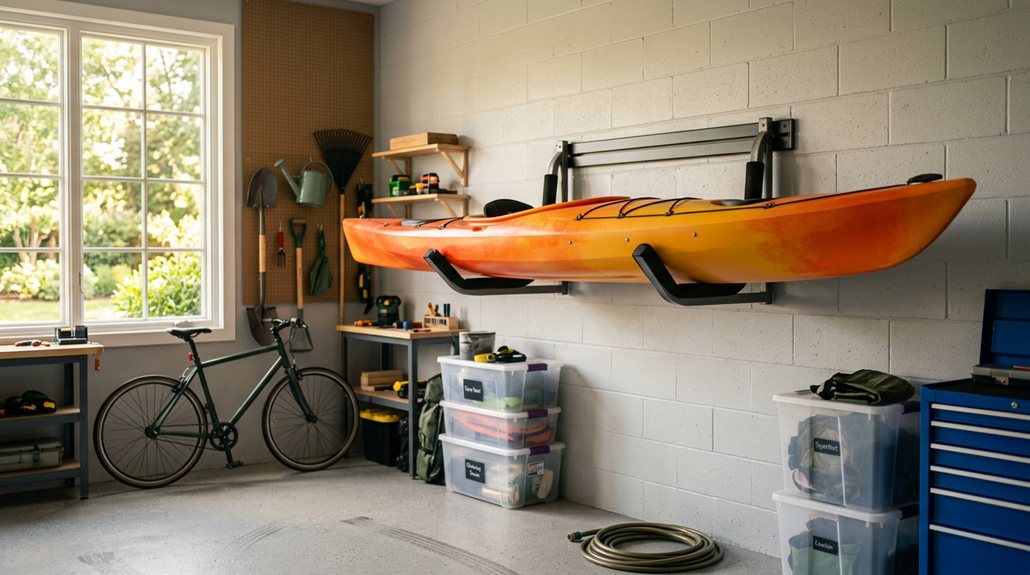
Wall-mount brackets: Install heavy-duty wall brackets in your garage or shed that support the kayak at multiple points along its length. Position brackets to accommodate the outrigger width, typically requiring 6-7 feet of wall space.
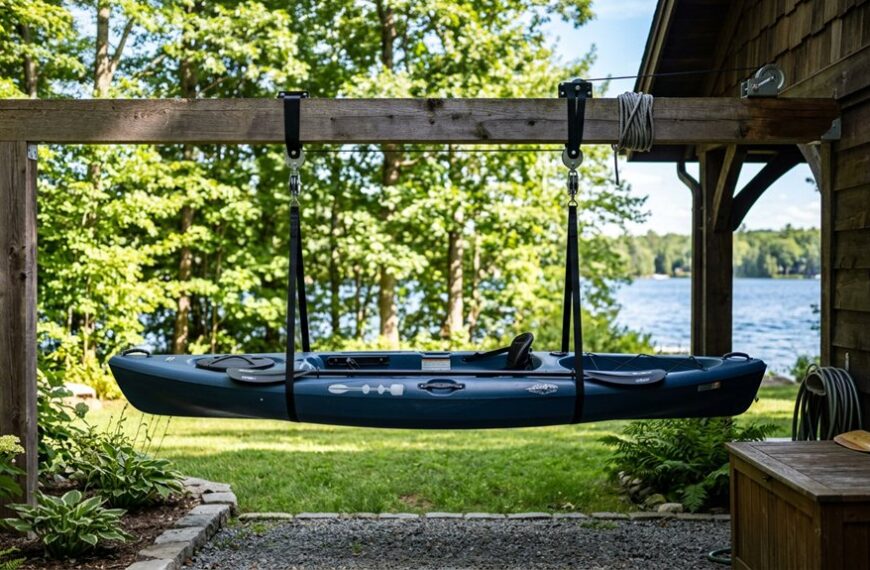
Ceiling hoists: Pulley systems lift your kayak overhead for storage, keeping floor space clear. Ensure your ceiling height can accommodate the kayak’s width when raised.
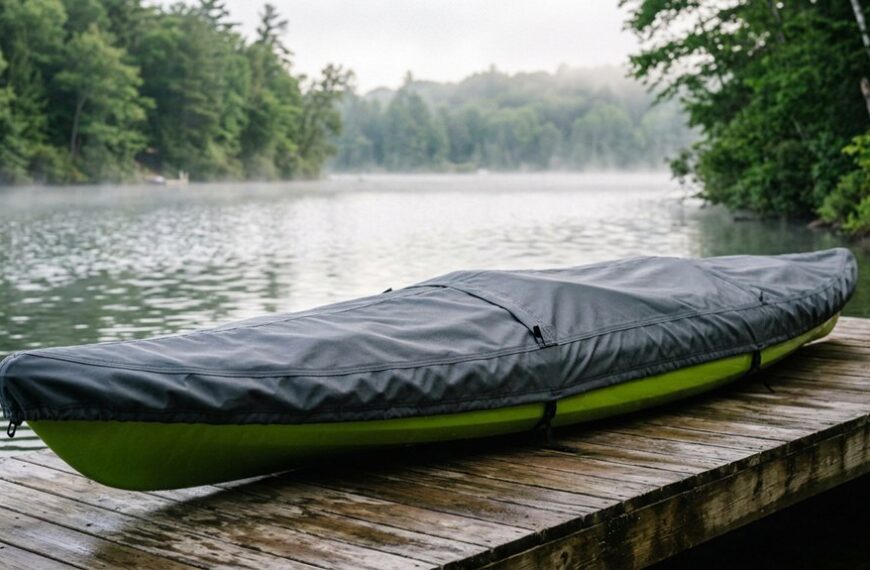
Outdoor storage: If you store your kayak outside, position it in an area where the outrigger width won’t block pathways or create hazards. Use a UV-resistant cover that’s large enough to drape over the extended arms.
Vertical storage: Some anglers store kayaks on end to save floor space. If you choose this method with outriggers attached, ensure the mounting brackets can support the kayak’s weight in a vertical orientation without bending or cracking.
Quick-release systems: Invest in outriggers with tool-free quick-release brackets if storage space is severely limited. These let you remove the entire system in under two minutes, reducing your kayak to stock dimensions for storage while keeping the outriggers ready for quick reinstallation.
For anglers who use DIY kayak transport methods, remember that outriggers change your kayak’s balance point and may require repositioning of tie-down straps or foam blocks to maintain secure transport.
Frequently Asked Questions
How long does it take to install kayak outriggers?
Most anglers complete a basic clamp-on outrigger installation in 30-60 minutes for their first attempt. Once familiar with the process, setup time drops to 10-15 minutes. Permanent bolt-through installations take 1-2 hours including drilling, sealing, and hardware installation.
Will outriggers damage my kayak?
Properly installed outriggers won’t damage your kayak. Clamp-on systems with rubber padding protect the hull finish, and correctly sealed bolt-through installations don’t compromise structural integrity. Damage occurs only from over-tightening clamps or failing to seal drilled holes properly.
Can I use PVC pipe to build DIY outriggers?
Yes, 1.5-inch schedule 40 PVC pipe works well for DIY outrigger arms. It’s inexpensive, easy to cut and assemble, and adequately strong for most fishing kayaks. Use stainless steel hose clamps for connections and foam pool noodles or sealed PVC caps for flotation.
Do outriggers work in saltwater?
Outriggers work equally well in saltwater and freshwater, but saltwater requires corrosion-resistant materials. Choose anodized aluminum arms, stainless steel hardware, and UV-resistant floats. Rinse the entire system with fresh water after each saltwater trip to maximize lifespan.
How far should outriggers extend from my kayak?
Most fishing kayaks benefit from outriggers that extend 24-30 inches from the hull centerline. Shorter extensions (18-24 inches) provide moderate stability with less drag, while longer extensions (30-36 inches) maximize stability but significantly slow paddling speed.
Can I stand and fish with outriggers on a narrow kayak?
Outriggers allow standing on kayaks as narrow as 28 inches, but comfort and safety improve with wider base hulls. A 28-inch kayak with 30-inch outriggers provides similar standing stability to a 34-inch kayak without outriggers, though the narrow hull may still feel less secure underfoot.
Will outriggers prevent capsizing completely?
Outriggers dramatically reduce capsize risk but don’t eliminate it entirely. Extreme conditions (large breaking waves, violent fish strikes, or sudden weight shifts) can still overwhelm outrigger buoyancy. They provide excellent stability for normal fishing activities but aren’t a substitute for wearing a PFD and practicing kayak safety.
How much weight can outriggers support?
Typical outrigger floats provide 8-15 pounds of buoyancy each, supporting a total lateral load of 16-30 pounds before submerging. This is sufficient for most anglers and gear, but extremely heavy individuals or heavily loaded kayaks may need larger custom floats or multiple float pods per side.
Do I need outriggers on both sides of my kayak?
Yes, outriggers must be installed on both sides for balanced stability. A single-sided outrigger would cause your kayak to list heavily to the opposite side and create dangerous handling characteristics.
Can I add outriggers to a sit-inside kayak?
You can add outriggers to sit-inside kayaks if they have adequate gunwale width for mounting brackets, but most sit-inside designs are narrow touring models where outriggers defeat the purpose. Wide recreational sit-inside kayaks accept outriggers more easily and benefit from the added stability.
How do I maintain kayak outriggers?
Rinse outriggers with fresh water after each use, especially in saltwater. Check mounting hardware tightness before every trip. Inspect floats for cracks or punctures monthly. Store outriggers out of direct sunlight when not in use to prevent UV degradation of foam and plastic components.
Will outriggers affect my kayak’s warranty?
Bolt-through outrigger installations that require drilling holes typically void manufacturer warranties. Clamp-on systems that don’t modify the hull usually don’t affect warranty coverage, but check your specific warranty terms before installation. Some manufacturers explicitly allow accessory installations while others prohibit any modifications.
Conclusion
Adding outriggers to your kayak transforms stability and opens up fishing techniques that would be risky or impossible on an unmodified boat. Whether you choose a simple DIY build or a premium commercial system, the installation process is straightforward and the performance benefits are immediate. For beginner kayak fishing enthusiasts and experienced anglers alike, outriggers provide the confidence to stand, cast, and land fish without constant worry about capsizing.
Start by honestly assessing your kayak’s current stability and your fishing style. If you find yourself wishing you could stand more often, fish rougher water, or simply feel more secure, outriggers are likely worth the investment. Choose removable systems if you value flexibility, or commit to permanent installations if maximum strength is your priority. Either way, proper installation following the steps outlined above will give you years of stable, productive fishing.
Take action today: measure your kayak’s mounting surfaces, decide on your budget, and order the outrigger system that matches your needs. Once installed and properly adjusted, you’ll wonder how you ever fished without them.