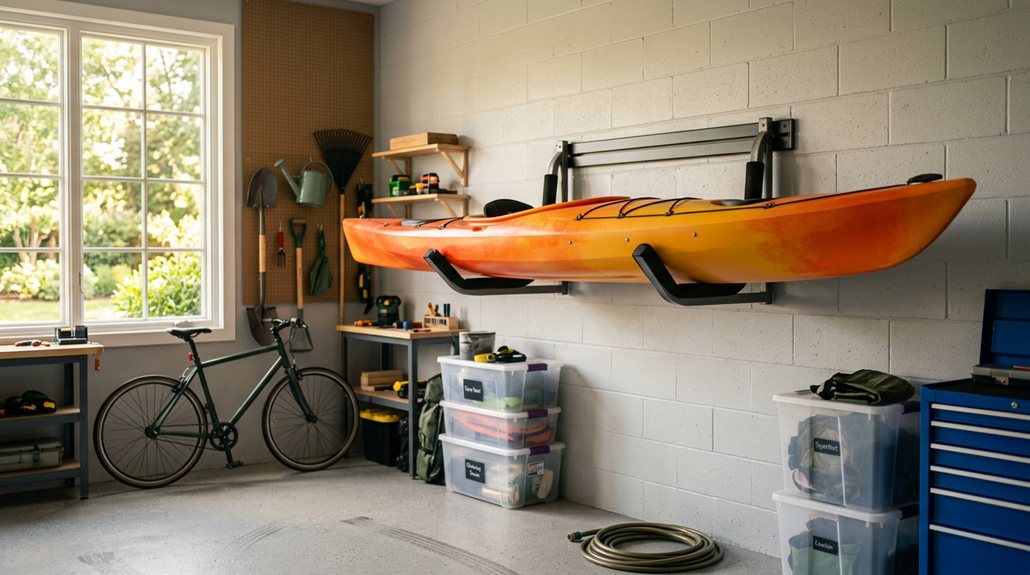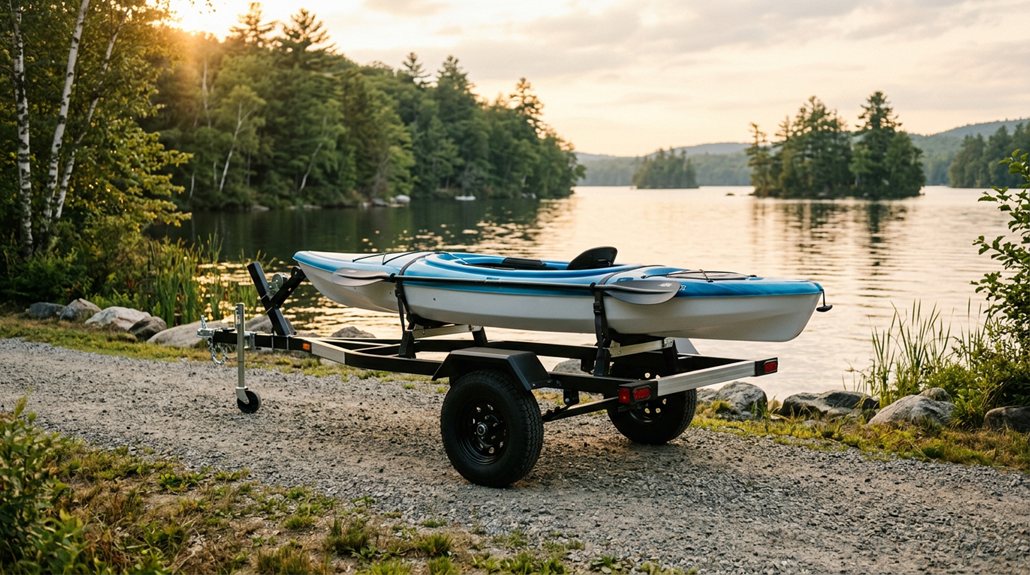
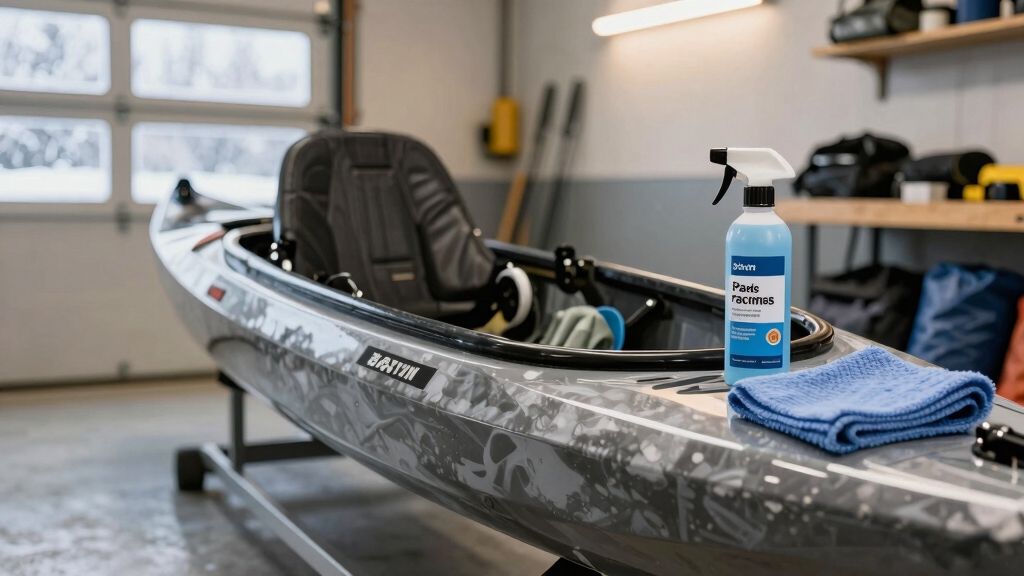
Cold weather can destroy a pedal drive system in a single season if water freezes inside the cables, gears, or housing. Learning how to winterize a pedal drive kayak properly protects your investment and ensures smooth operation when spring fishing returns. The process takes about 30-45 minutes and involves flushing, cleaning, lubricating, and storing the drive mechanism correctly.
Key Takeaways
- Flush saltwater or debris immediately after your last trip to prevent corrosion and buildup during storage
- Remove the pedal drive completely for thorough cleaning and to prevent stress on mounting points during freezing temperatures
- Apply marine-grade lubricant to all moving parts, cables, and pivot points before storage
- Store drives indoors in a climate-controlled space, even if the kayak hull stays outside
- Indoor storage doesn’t eliminate winterization – condensation and residual water still cause damage
- Different drive systems (Hobie Mirage, Native Propel, Old Town) require slightly different procedures
- Frozen cables can be thawed slowly at room temperature, but prevention is far easier than repair
- Professional winterization costs $75-150 but DIY maintenance takes under an hour with basic supplies
What Does Winterizing a Pedal Drive Kayak Mean?
Winterizing a pedal drive kayak means preparing both the hull and the mechanical drive system for cold-weather storage by removing water, applying protective lubricants, and storing components properly to prevent freeze damage, corrosion, and mechanical failure.
The process focuses on three main areas: flushing out all water from the drive mechanism, protecting metal and plastic parts from temperature-related stress, and positioning components to avoid warping or cracking. Unlike traditional paddle kayaks, pedal drive systems contain cables, gears, bearings, and pivot points that trap water and fail when moisture freezes and expands.
Why it matters: Water expands roughly 9% when it freezes. Inside a sealed cable housing or gear chamber, that expansion can crack housings, fray cables, and bend shafts. Even in mild climates, temperature swings cause condensation that leads to rust and corrosion over months of storage.
Most anglers who skip winterization discover problems in spring – stiff cables, corroded pivot points, or cracked fins – that cost $200-500 to repair or replace.
How to Remove a Pedal Drive from Your Kayak for Winter
Removing the pedal drive takes 5-10 minutes and requires no special tools for most systems. Start by positioning the kayak on a stable surface with the drive fully retracted into the hull. Locate the release lever or pin mechanism (usually near the seat or inside the hull cavity), pull or twist according to your model’s design, and lift the drive unit straight up and out of the mounting well.
Step-by-step removal process:
- Retract the drive fully – pedal or crank the mechanism so fins or propeller sit as high as possible in the hull
- Locate the release mechanism – Hobie uses a spring-loaded pin system; Native Propel has a twist-lock collar; Old Town has a lever release
- Disengage the lock – pull the pin, twist the collar counterclockwise, or flip the lever to the open position
- Lift straight up – grasp the drive housing firmly and pull vertically; avoid twisting or tilting which can bind the mechanism
- Disconnect cables if needed – some systems require unplugging the pedal cable from the drive unit after removal
Common mistake: Trying to remove the drive while it’s still deployed. The fins or propeller will catch on the hull opening. Always retract completely first.
For pedal drive kayaks with integrated systems, consult your owner’s manual – some models require loosening mounting bolts rather than using a quick-release system.

Easy Tool Free Use Designed for quick hand installation and removal to help simplify prop maintenance cleaning and replacement during fishing and outdoor kayak use

Designed to fit the pedal-drive opening of compatible kayaks, creating a mounting solution for electric trolling motor setups.
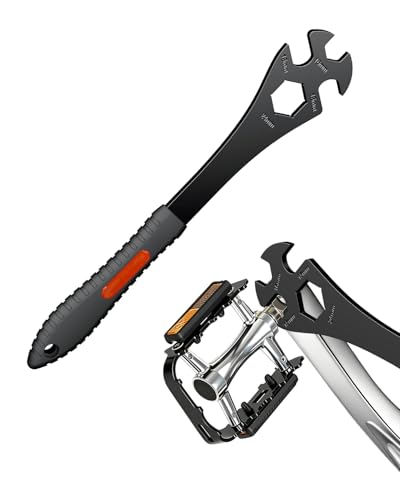
Versatile Bike Wrench: Designed for installing and removing most standard bike pedals (15 mm), crank pullers, and bottom bracket sockets—delivering quick, effortless maintenance with just one tool. (Note: Compatible tools not included)
Do You Need to Winterize a Pedal Kayak Stored Indoors?
Yes, you should winterize a pedal drive kayak even when storing it indoors, because residual water inside the drive mechanism and condensation from temperature changes will still cause corrosion, cable damage, and mechanical problems over several months.
Indoor storage protects the hull from UV damage and extreme temperature swings, but it doesn’t eliminate moisture inside the sealed portions of the drive system. Water from your last outing – whether freshwater or saltwater – remains trapped in cable housings, gear chambers, and pivot points. As indoor temperatures fluctuate (even by 10-15 degrees), that moisture condenses and re-evaporates, accelerating rust formation on metal components.
What indoor storage does protect:
- Hull material from UV degradation and cracking
- Deck rigging and bungees from weather damage
- Overall kayak structure from snow load and ice accumulation
What it doesn’t protect:
- Internal drive components from residual water
- Cables from corrosion due to trapped moisture
- Bearings and gears from oxidation
- Rubber seals from drying out and cracking
The winterization process for indoor storage can be slightly abbreviated – you may skip some protective covers and hull treatments – but flushing, cleaning, and lubricating the drive mechanism remains essential.
Pedal Drive Kayak vs Regular Kayak Winter Storage Differences
Pedal drive kayaks require complete drive removal, mechanical cleaning, and lubrication during winter storage, while regular paddle kayaks only need hull cleaning, drain plug removal, and proper positioning to prevent water accumulation and hull deformation.
The key difference lies in the complexity of moving parts. A paddle kayak has no internal mechanisms vulnerable to freeze damage – just a hull, seat, and accessories. Pedal drive systems contain $300-800 worth of mechanical components that fail when water freezes inside them.
Pedal drive kayak winter prep:
- Remove drive unit completely
- Flush all water from cables and housings
- Disassemble and clean fins or propeller
- Lubricate all pivot points and cables
- Store drive separately in climate-controlled space
- Time required: 30-45 minutes
Regular kayak winter prep:
- Remove drain plugs and tip to drain
- Clean hull and remove debris
- Store upside down or on side to prevent water pooling
- Protect from UV if stored outdoors
- Time required: 10-15 minutes
Both types benefit from proper support during storage (avoid hanging by handles, which can warp the hull), but only pedal systems require the mechanical maintenance that defines true winterization.
What Lubricant to Use on Pedal Drive Systems for Winter
Use marine-grade waterproof grease (such as Hobie Drive Lube, Star brite Premium Marine Grease, or equivalent NLGI Grade 2 lithium-based grease) on all pivot points, gears, and metal-to-metal contact surfaces, and silicone-based cable lubricant or dry Teflon spray for cable housings and moving cables.
The right lubricant creates a moisture barrier that prevents corrosion during storage while remaining effective in cold temperatures. Standard automotive grease can stiffen in cold weather or wash away when you return to the water in spring.
Recommended lubricants by component:
- Gears and pivot points: Marine-grade waterproof grease (stays in place, resists washout)
- Cable housings: Silicone spray or marine cable lubricant (penetrates and displaces water)
- Rubber seals and O-rings: Silicone grease (prevents drying and cracking)
- Stainless steel hardware: Anti-seize compound (prevents galvanic corrosion)
- Fins and propeller shafts: Light coating of marine grease (protects against oxidation)
What to avoid: WD-40 (too thin, evaporates), petroleum jelly (attracts dirt), 3-in-1 oil (washes away easily), automotive grease (not formulated for marine environments).
Apply lubricant after cleaning and drying all components. A thin, even coat works better than heavy globs that attract dirt and debris. For pedal drive systems with sealed bearings, focus on external pivot points and cable entry points rather than trying to force grease into sealed units.

Provides rust and corrosion protection in both fresh water and salt water environments

Lucas Oil 10320 Marine Grease - 14 Ounce
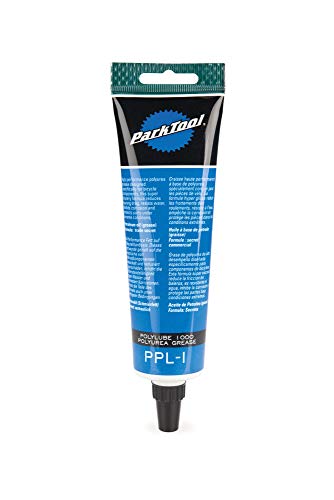
PolyLube 1000 has an extremely high shear strength to protect vital parts under extreme conditions.
How Much Does Professional Kayak Winterization Cost?
Professional kayak winterization services typically cost $75-150 for a complete pedal drive system service, including drive removal, flushing, cleaning, lubrication, inspection, and storage recommendations, with prices varying based on drive complexity and regional labor rates.
Most kayak shops and marine service centers offer winterization as a seasonal service package. The cost usually includes a basic inspection for wear or damage, which can identify problems before they become expensive failures.
Typical professional service pricing:
- Basic winterization (drive removal, flush, lube, reinstall): $75-100
- Full service (includes fin/propeller inspection, cable check, seal replacement if needed): $125-175
- Storage included (winterization plus indoor storage until spring): $200-350 for the season
- Parts extra (replacement cables, seals, or fins add $30-150 depending on component)
DIY cost comparison:
- Marine grease: $12-18
- Cable lubricant: $8-12
- Cleaning supplies: $10-15
- Total: $30-45 for supplies that last multiple seasons
Professional service makes sense if you’re uncomfortable with mechanical work, lack proper workspace, or want an expert inspection. DIY winterization saves money and helps you learn your pedal kayak’s system intimately, making field repairs easier.
Choose professional service if: You’re new to pedal drives, suspect existing damage, or don’t have indoor workspace for the 30-45 minute process.

ADVANCED FORMULA: Our unique Bio Grease is based on renewable resources and has a combination of extreme pressure lubricity additives and natural ‘slip’, giving it unrivalled performance in its class!

Made of high quality materials, durable and practical.

GREASES AND LUBRICATES: This bicycle grease and lubricant can be used anywhere in your bike that needs lubricating. From pedals, wheels, and headsets, to bearings, bushings, and bike chains, our grease for bicycles is simply exceptional and gets the job done!i
What to Do If Your Pedal Drive Cable Freezes After Winter
If your pedal drive cable freezes after winter storage, bring the entire drive unit indoors to room temperature (65-70°F) and let it thaw naturally for 4-6 hours without applying heat, then flush with warm (not hot) water and lubricate thoroughly before attempting to operate the mechanism.
Forcing a frozen cable causes permanent damage – frayed strands, kinked housing, or broken end fittings. The ice inside needs to melt completely before any movement occurs.
Thawing procedure:
- Remove drive from kayak if still installed
- Place in room-temperature space (garage, basement, or indoor room)
- Position upright to allow meltwater to drain naturally
- Wait 4-6 hours for complete thaw (longer for severely frozen units)
- Test gently – if resistance remains, wait longer
- Flush with warm water (90-100°F) to remove any remaining ice crystals
- Dry completely with compressed air or towels
- Lubricate heavily with marine cable lubricant
- Work the mechanism slowly through full range of motion
- Inspect for damage – look for frayed cable strands or kinked housing
What NOT to do:
- Apply direct heat (hair dryer, heat gun, hot water) – causes uneven expansion and can melt plastic components
- Force the pedals or mechanism – breaks cable strands
- Reinstall and use immediately – residual moisture will refreeze
Prevention: This situation means winterization was incomplete. For next season, ensure all water is flushed from cables and housings, and apply proper lubricant before storage.
If the cable shows damage after thawing (stiff spots, visible kinks, fraying), replacement is necessary. Most pedal drive cables cost $40-80 and can be replaced at home with basic tools.
Can You Leave a Pedal Drive Kayak Outside in Winter?
You can leave the kayak hull outside in winter if properly supported and covered, but you must remove the pedal drive system and store it indoors in a climate-controlled space to prevent freeze damage, corrosion, and mechanical failure that outdoor exposure causes.
The hull itself – whether polyethylene, thermoformed plastic, or composite – can withstand winter weather if protected from UV exposure and supported properly to prevent warping. The pedal drive mechanism cannot.
Hull outdoor storage requirements:
- Support: Use a kayak rack or sawhorses that support the hull at multiple points (not hanging by handles)
- Position: Store upside down or on its side to prevent water and snow accumulation
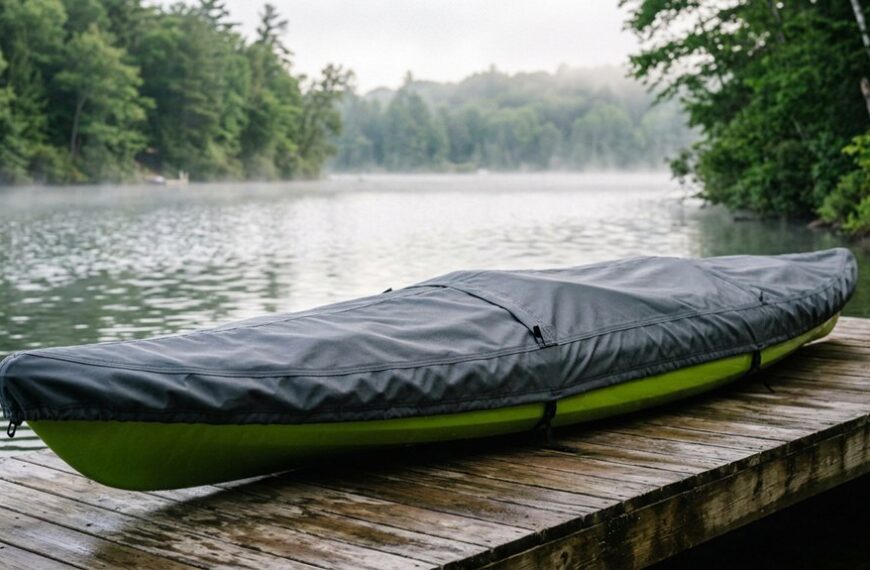
- Cover: Use a UV-resistant tarp or kayak cover with ventilation to prevent condensation
- Location: Choose a spot protected from falling branches and away from direct sun exposure
Why drives must come indoors:
- Freezing water inside cables and housings causes permanent damage
- Temperature cycling accelerates corrosion of metal components
- UV exposure degrades plastic gears and housings
- Moisture from snow and rain penetrates sealed areas
- Rodents may nest in outdoor-stored mechanical components
Compromise approach: If indoor space is extremely limited, store just the drive unit indoors (takes up about 2-3 square feet of floor space) and leave the hull outside with proper support and covering.
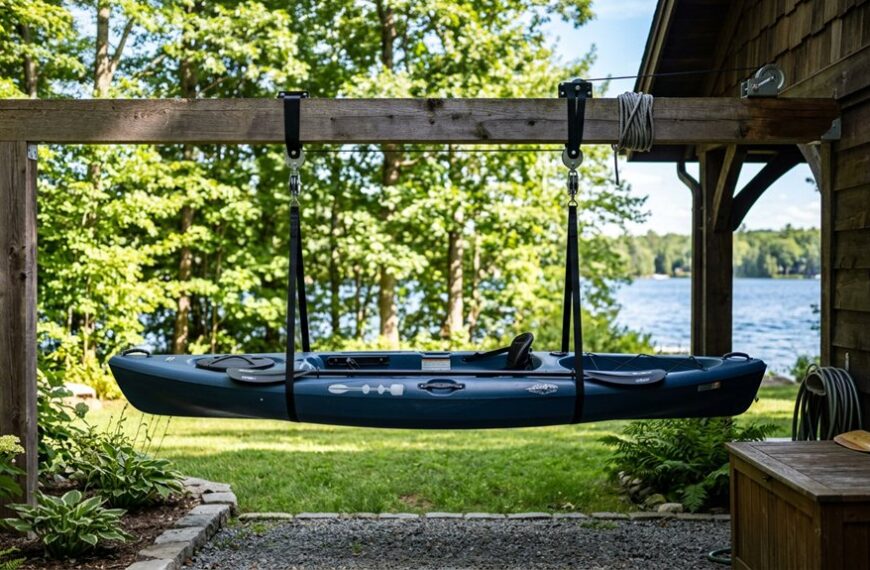
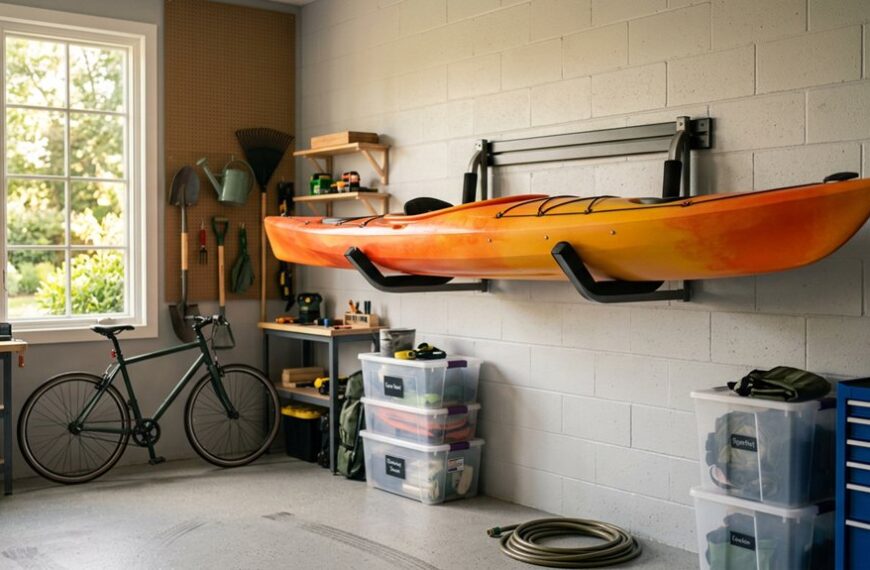
For fishing kayak enthusiasts in apartments or tight storage situations, consider a vertical wall mount indoors for the drive unit – it’s the most valuable and vulnerable component of your setup.
Winterizing Hobie Mirage Drive vs Native Propel Drive
Hobie Mirage Drives use a fin-based system requiring turbo fin removal, pivot point lubrication, and cable housing flush, while Native Propel Drives use a propeller system needing propeller disassembly, shaft greasing, and different cable routing attention, but both follow the same core winterization steps of flushing, cleaning, lubricating, and indoor storage.
The mechanical differences between these popular systems affect which specific components need attention, but the overall winterization philosophy remains identical: remove all water, protect moving parts, and store properly.
Hobie Mirage Drive specific steps:
- Remove both turbo fins by pulling the spring-loaded pins
- Flush the mast and fin pivot points with freshwater
- Apply marine grease to all four fin pivot points
- Lubricate the cable where it enters the mast housing
- Check the spring tension and inspect for wear
- Store with fins removed to prevent warping
Native Propel Drive specific steps:
- Unscrew and remove the propeller assembly
- Clean the propeller shaft and apply marine grease
- Flush the drive housing through the propeller opening
- Lubricate the pedal cable at both ends
- Check the chain (if applicable) for rust or stiffness
- Store with propeller removed and protected
Old Town/Perception Pilot Drive:
- Similar to Native Propel (propeller-based)
- Additional attention to the kick-up mechanism spring
- Lubricate the kick-up pivot point specifically
Common to all systems:
- Freshwater flush of entire drive unit
- Cable lubrication at entry and exit points
- Inspection of all visible hardware for corrosion
- Indoor storage in climate-controlled space
- Reinstallation check-list for spring deployment
The brand-specific owner’s manual provides torque specifications and detailed diagrams, but the basic winterization process takes the same 30-45 minutes regardless of drive type.
Is Winterizing Necessary for Pedal Kayaks in Mild Climates?
Yes, winterizing is necessary even in mild climates where temperatures rarely drop below freezing, because saltwater corrosion, condensation, and debris accumulation cause long-term damage regardless of temperature, and the process prevents spring maintenance problems that cost far more than the 30 minutes of winter prep.
Mild climates (coastal regions, southern states, areas with winter lows above 40°F) present different challenges than freeze-prone areas, but the pedal drive system still requires attention.
Mild climate concerns:
- Saltwater corrosion accelerates year-round in coastal areas
- Humidity and condensation cause rust even without freezing
- Debris and marine growth accumulate in stored drives
- Seal degradation from UV exposure and temperature cycling
- Cable corrosion from trapped moisture
Abbreviated mild-climate winterization:
- Thorough saltwater flush (even more critical than in cold climates)
- Complete drying of all components
- Light lubrication of moving parts
- Storage in shaded, ventilated area (indoor storage still preferred)
- Monthly inspection if stored for extended periods
What you can skip in mild climates:
- Heavy grease application (light coating sufficient)
- Extreme cold-weather lubricants
- Protective covers for freeze protection
What you cannot skip:
- Saltwater flushing (causes more damage than freezing)
- Cable lubrication
- Drive removal from hull
- Inspection for wear and damage
Anglers in Florida, Southern California, Texas, and other mild regions often fish year-round, making “winterization” more about seasonal maintenance between heavy-use periods. The same cleaning, flushing, and lubrication process applies – just performed more frequently.
For winter kayak fishing enthusiasts who paddle through cold months, perform the winterization process whenever you take an extended break (2+ weeks) from the water.
Common Mistakes When Storing Pedal Drive Kayaks in Winter
The most common mistakes include leaving the drive installed in the kayak, skipping the freshwater flush after saltwater use, applying too much or wrong type of lubricant, storing the kayak hanging by its handles, and failing to inspect cables and seals for pre-existing damage before storage.
These errors lead to expensive spring repairs and shortened equipment lifespan. Most are easy to avoid with proper knowledge.
Top winterization mistakes:
1. Leaving drive installed in hull
- Creates stress on mounting points
- Prevents proper drainage
- Exposes drive to temperature extremes
- Makes thorough cleaning impossible
2. Incomplete water removal
- Flushing for only 30 seconds (need 3-5 minutes)
- Missing cable housings and sealed areas
- Not tilting drive to drain all angles
- Skipping compressed air drying
3. Wrong lubricant choices
- Using WD-40 instead of marine grease
- Applying automotive grease that stiffens in cold
- Over-lubricating and attracting dirt
- Forgetting to lubricate cables entirely
4. Improper hull storage
- Hanging by handles (causes hull warping)
- Storing right-side up (collects water and debris)
- No UV protection for outdoor storage
- Inadequate support causing pressure points
5. Skipping the inspection
- Missing frayed cables before storage
- Ignoring worn seals that will fail in spring
- Not documenting existing damage
- Failing to order replacement parts during off-season
6. Forgetting small components
- Leaving drain plugs installed (traps water)
- Not removing and storing accessories separately
- Ignoring rudder systems and cables
- Overlooking mounting hardware corrosion
Quick prevention checklist:
- Remove drive completely ✓
- Flush with freshwater for 5 minutes ✓
- Dry thoroughly with compressed air ✓
- Apply correct marine lubricants ✓
- Inspect all components for damage ✓
- Store drive indoors separately ✓
- Support hull properly if stored outside ✓
- Document condition with photos ✓
Taking an extra 15 minutes to avoid these mistakes saves hundreds in repair costs and ensures your pedal drive kayak is ready for opening day of fishing season.
How to Flush Saltwater from Pedal Drive Before Winter Storage
Flush saltwater from your pedal drive by submerging the entire unit in a large container of freshwater for 5 minutes, then running the mechanism through full range of motion while submerged, followed by a freshwater hose rinse of all openings, cable entry points, and pivot areas for an additional 3-5 minutes.
Saltwater leaves crystallized salt deposits that attract moisture and accelerate corrosion throughout the off-season. A quick rinse isn’t sufficient – you need to dissolve and flush out all salt residue.
Complete saltwater flushing procedure:
Prepare flushing station
- Use a large plastic tub or trash can (20+ gallon capacity)
- Fill with clean freshwater
- Position near a hose connection
Initial soak (5 minutes)
- Submerge entire drive unit
- Work pedals or mechanism slowly through full motion
- Allows water to penetrate sealed areas and dissolve salt
Targeted flushing (3-5 minutes)
- Remove from tub
- Use garden hose with spray nozzle
- Focus on cable entry points, pivot areas, gear housings
- Flush from multiple angles to reach all surfaces
Fin/propeller attention
- Remove fins or propeller if possible
- Flush pivot points and shafts separately
- Inspect for sand, debris, or marine growth
- Clean with soft brush if needed
Final rinse
- Return to freshwater tub for 2-minute final soak
- Work mechanism again to flush any remaining salt
- Lift and drain from multiple angles
Drying
- Shake out excess water
- Use compressed air to blow out cable housings
- Wipe all external surfaces with towel
- Allow to air dry for 30-60 minutes before lubrication
For saltwater kayak fishing enthusiasts: This process should happen after every saltwater trip, not just before winter storage. Salt damage accumulates quickly, and a 10-minute flush after each outing prevents long-term corrosion.
Water temperature tip: Warm water (90-100°F) dissolves salt more effectively than cold water, but avoid hot water that might damage plastic components or seals.
Do You Need to Remove the Pedal Drive Completely or Just Clean It?
You must remove the pedal drive completely from the kayak hull for proper winterization, because thorough cleaning, flushing, drying, and lubrication are impossible with the drive installed, and removal prevents stress on mounting points and allows inspection of all components for wear or damage.
Cleaning the drive while installed might seem convenient, but it leaves water trapped in critical areas and prevents access to pivot points, cable connections, and sealed housings that need attention.
Why complete removal is necessary:
Access to all components:
- Cable entry points on underside of drive
- Pivot points and bearings hidden by hull
- Gear housings and sealed areas
- Mounting hardware and seals
Proper drainage:
- Drive must be tilted and positioned at multiple angles
- Water pools in low spots when installed
- Gravity drainage requires vertical positioning
- Compressed air access to all openings
Inspection capability:
- Check for cracks in housing
- Examine cable condition at connection points
- Inspect mounting seals for wear
- Identify problems before they worsen over winter
Storage benefits:
- Removes weight and stress from mounting points
- Allows climate-controlled storage of expensive components
- Prevents freeze damage to installed drives
- Makes hull storage and positioning easier
Time comparison:
- Cleaning installed drive: 15 minutes (incomplete)
- Removing, cleaning, and reinstalling: 35 minutes (complete protection)
The extra 20 minutes to remove the drive properly protects a $400-800 component from damage that costs $200-500 to repair. For anyone who values their fishing kayak gear, complete removal is the only acceptable approach.
Spring reinstallation: Most drives reinstall in 5-10 minutes using the same quick-release mechanism used for removal, making the process reversible and straightforward.
Best Way to Protect Pedal Drive Fins from Cracking in Cold
Protect pedal drive fins from cold-weather cracking by removing them completely from the drive unit, cleaning and drying thoroughly, applying a light coat of silicone-based protectant, and storing them flat or hanging vertically in a climate-controlled space away from direct sunlight and temperature extremes.
Fins (particularly Hobie’s turbo fins) are made from flexible plastic or composite materials that become brittle in cold temperatures. Stress from weight, bending, or impact while cold causes cracks that propagate and eventually require replacement.
Fin protection procedure:
Remove fins from drive
- Pull spring-loaded pins on Hobie systems
- Unscrew mounting hardware on other systems
- Never store fins attached to drive unit
Clean thoroughly
- Wash with mild soap and freshwater
- Remove all salt, sand, and organic material
- Inspect for existing cracks or stress marks
- Dry completely before storage
Apply protectant
- Use silicone-based plastic protectant (303 Aerospace Protectant works well)
- Apply thin, even coat to all surfaces
- Prevents UV damage and maintains flexibility
- Reapply every 2-3 months during long storage
Store properly
- Lay flat on shelf or hang vertically by mounting hole
- Never lean against wall or stack with weight on top
- Keep in temperature-stable environment (50-70°F ideal)
- Avoid direct sunlight even indoors
Inspect before reinstallation
- Check for cracks, especially near pivot holes
- Look for stress whitening in plastic
- Test flexibility gently
- Replace if any damage visible
Common fin damage causes:
- Storing with weight pressing on fins
- Temperature cycling (garage that goes from 20°F to 60°F)
- UV exposure through windows
- Leaving installed on drive during storage
- Dropping or impact while brittle from cold
Replacement cost: Hobie turbo fins run $80-120 per pair; Native propellers cost $60-90. Proper storage extends their life by years.
Material note: Newer composite fins are more cold-resistant than older plastic versions, but all benefit from proper storage. If your fins are several years old and show stress marks, consider replacing before next season rather than risking failure on the water.
Frequently Asked Questions
How long does it take to winterize a pedal drive kayak?
Complete winterization takes 30-45 minutes including drive removal, flushing, cleaning, lubrication, and storage preparation. Add another 15-20 minutes if you’re also preparing the hull for outdoor storage with covers and proper positioning.
Can I use regular grease instead of marine grease on my pedal drive?
No, regular automotive grease isn’t formulated for marine environments and will wash away quickly or stiffen in cold temperatures. Marine-grade waterproof grease (NLGI Grade 2 lithium-based) is specifically designed to resist water washout and maintain consistency in temperature extremes.
What temperature is too cold to leave a pedal drive installed?
Any temperature below 32°F (0°C) risks freeze damage if any water remains in the system. Even in climates that rarely freeze, temperature swings and condensation make drive removal and proper winterization the safer choice for storage periods longer than two weeks.
How do I know if my pedal drive cables are damaged after winter?
Test cables by working the pedal mechanism through its full range of motion. Damaged cables show stiff spots, grinding or catching sensations, visible kinks in the housing, frayed strands at connection points, or rust stains on the cable housing. Any of these signs requires cable replacement before use.
Should I store my kayak with the drain plug in or out?
Always remove drain plugs during storage to allow any water that enters the hull to drain freely. Trapped water can freeze and damage the hull, or create a breeding ground for mold and mildew in warmer climates.
Is it better to store a kayak vertically or horizontally in winter?
Store horizontally on a rack with multiple support points, or on its side to prevent water accumulation. Vertical storage saves space but can cause hull deformation over months if not properly supported. Never hang by handles or single-point suspension.
Can I winterize my pedal drive without removing it from the kayak?
No, proper winterization requires complete drive removal to access all components, ensure thorough drainage, apply lubricants correctly, and inspect for damage. Attempting to winterize an installed drive leaves water trapped in critical areas and prevents proper maintenance.
What’s the most important step in pedal drive winterization?
Thorough freshwater flushing to remove all salt, debris, and contaminants is the most critical step. Trapped saltwater causes more long-term damage than any other factor, accelerating corrosion throughout the storage period even in climate-controlled environments.
How often should I replace pedal drive cables?
Replace cables every 3-5 years depending on use frequency and maintenance quality, or immediately if you notice stiffness, fraying, rust, or kinking. Preventive replacement costs $40-80; emergency replacement after failure can cost $200+ if other components are damaged.
Do I need to winterize if I only kayak in freshwater?
Yes, freshwater still causes corrosion and damage when trapped in drive components over months of storage. While freshwater is less corrosive than saltwater, proper winterization protects your investment and ensures reliable performance regardless of where you paddle.
Can I store my pedal drive in an unheated garage?
An unheated garage is acceptable if temperatures stay above freezing and the drive is properly winterized (all water removed, components lubricated). If the garage regularly drops below 32°F, store the drive in a heated space like a basement or utility room.
What should I do if I forgot to winterize and spring is here?
Perform the complete winterization process now before using the kayak: remove drive, flush thoroughly, inspect all components for damage, lubricate properly, and test operation. Check cables especially carefully for corrosion or stiffness that developed during improper storage.
Conclusion
Winterizing a pedal drive kayak protects your investment and ensures reliable performance when fishing season returns. The process takes less than an hour but prevents hundreds of dollars in repair costs and the frustration of discovering problems on opening day. Remove the drive completely, flush all saltwater and debris, apply proper marine lubricants, and store components in a climate-controlled space. These simple steps work for all pedal drive systems – Hobie Mirage, Native Propel, Old Town Pilot, and others – with only minor variations in specific components.
Start your winterization immediately after your last trip of the season, before water has time to cause corrosion or freeze damage. Take photos during disassembly to make spring reinstallation easier, and use the storage period to order any replacement parts you identified during inspection. When you pull your pedal kayak out next spring, you’ll be ready to hit the water immediately rather than spending the first warm weekend on repairs.
For more guidance on maintaining your fishing kayak setup, explore our complete kayak fishing resources and kayak maintenance tips.