
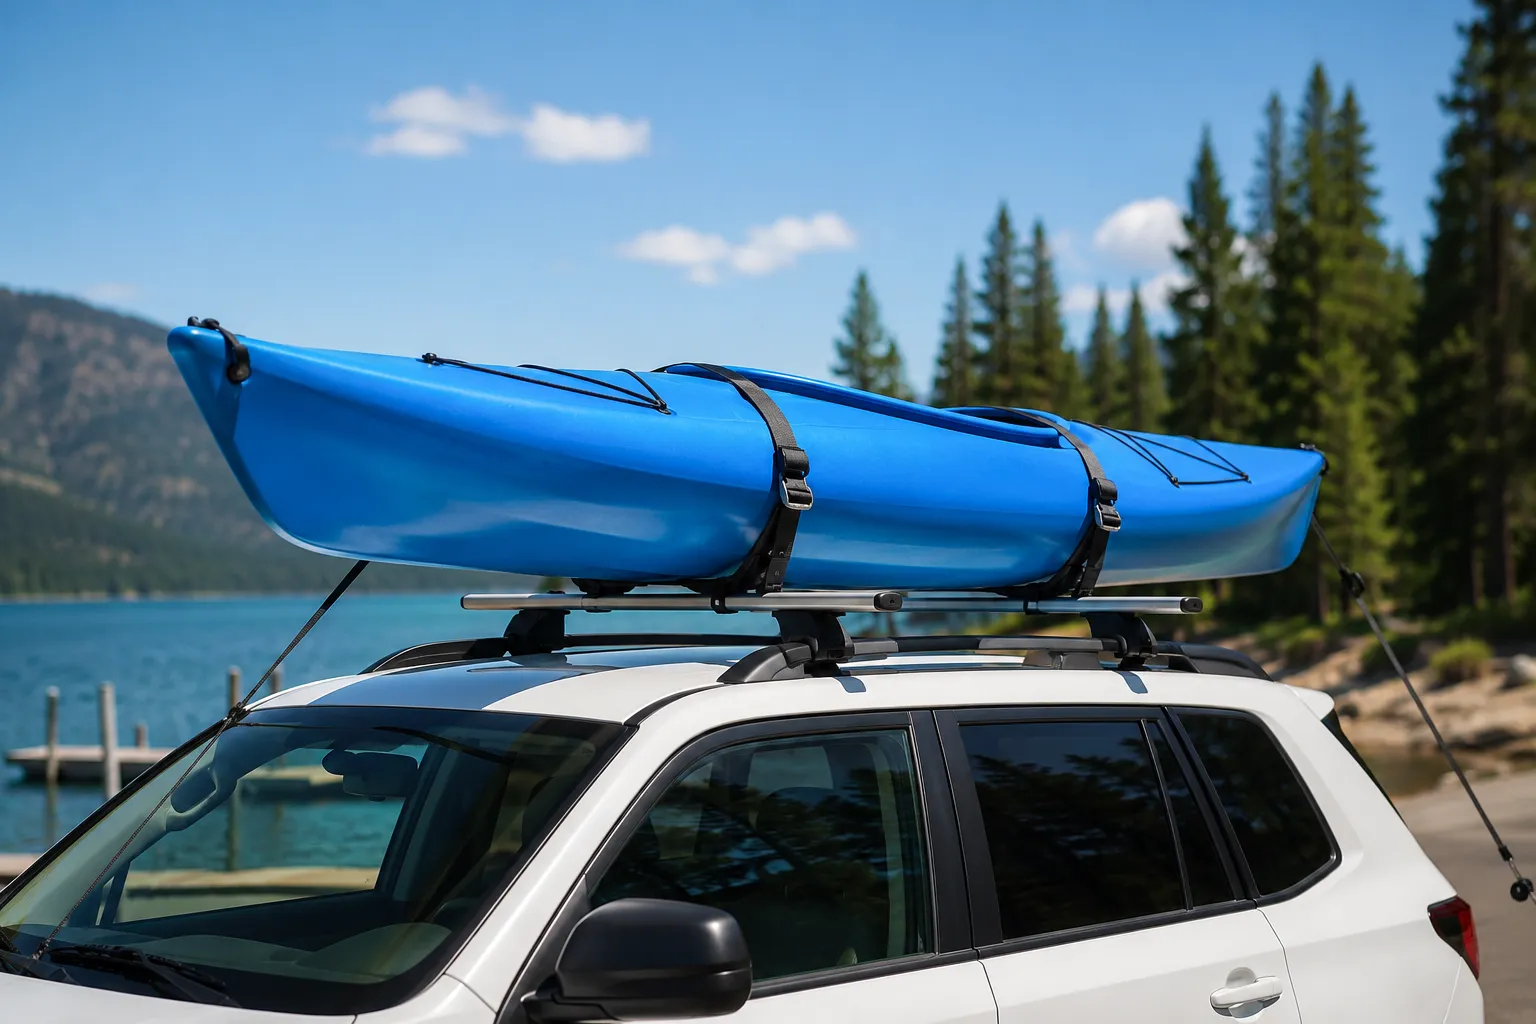
Quick Answer
To tie down a kayak properly, place it hull-down on padded crossbars, secure it with two cam straps running perpendicular to the kayak over the hull, and add bow and stern lines from each end of the kayak to your vehicle’s front and rear tie-down points. The straps should be snug enough to prevent movement but not so tight that they deform the hull. This four-point system keeps your kayak stable during transport and prevents damage to both the kayak and your vehicle.
Key Takeaways
- Two cam straps across the hull plus bow and stern lines create a secure four-point tie-down system
- Cam straps are safer than ratchet straps for most kayakers because they’re harder to over-tighten
- Hull-down positioning on padded crossbars distributes weight evenly and prevents hull deformation
- Bow and stern lines are essential for highway speeds and prevent the kayak from sliding forward or backward
- Straps should be snug but not crushing, you should be able to press the hull down slightly with your hand
- Foam blocks work without a roof rack but require straps running through the vehicle interior
- Check strap tension after 10 minutes of driving, as straps can settle and loosen slightly
- Wide straps distribute pressure better than narrow ones and reduce the risk of hull damage
- Never anchor from door frames, use hood loops, tow hooks, or tie-down anchors instead
What Is the Best Way to Secure a Kayak to a Roof Rack?
The best way to secure a kayak to a roof rack is to position it hull-down (bottom facing the rack) centered on two padded crossbars, then wrap two cam straps perpendicular to the kayak’s length over the hull and around the crossbars. Add bow and stern lines running from each end of the kayak to secure attachment points on your vehicle’s front and rear.
This method works because it creates four points of contact that prevent movement in all directions. The cam straps stop side-to-side wobble and keep the kayak from lifting off the rack, while the bow and stern lines prevent forward and backward sliding during acceleration, braking, and wind gusts.
Step-by-step process:
- Position the kayak hull-down and centered on the crossbars, with equal overhang front and rear
- Place the first cam strap over the hull just behind the front crossbar
- Thread the strap under the crossbar and back up through the cam buckle
- Tighten until snug, the kayak shouldn’t move when you push it side to side
- Repeat with the second strap just in front of the rear crossbar
- Attach bow line from the front of the kayak to a hood loop or tow hook
- Attach stern line from the rear of the kayak to a rear tow hook or hitch
- Tighten bow and stern lines until they have slight tension but aren’t pulling the kayak forward or backward
Common mistake: Placing straps too close together in the middle of the kayak. Space them near the front and rear crossbars to maximize stability and prevent the ends from bouncing.
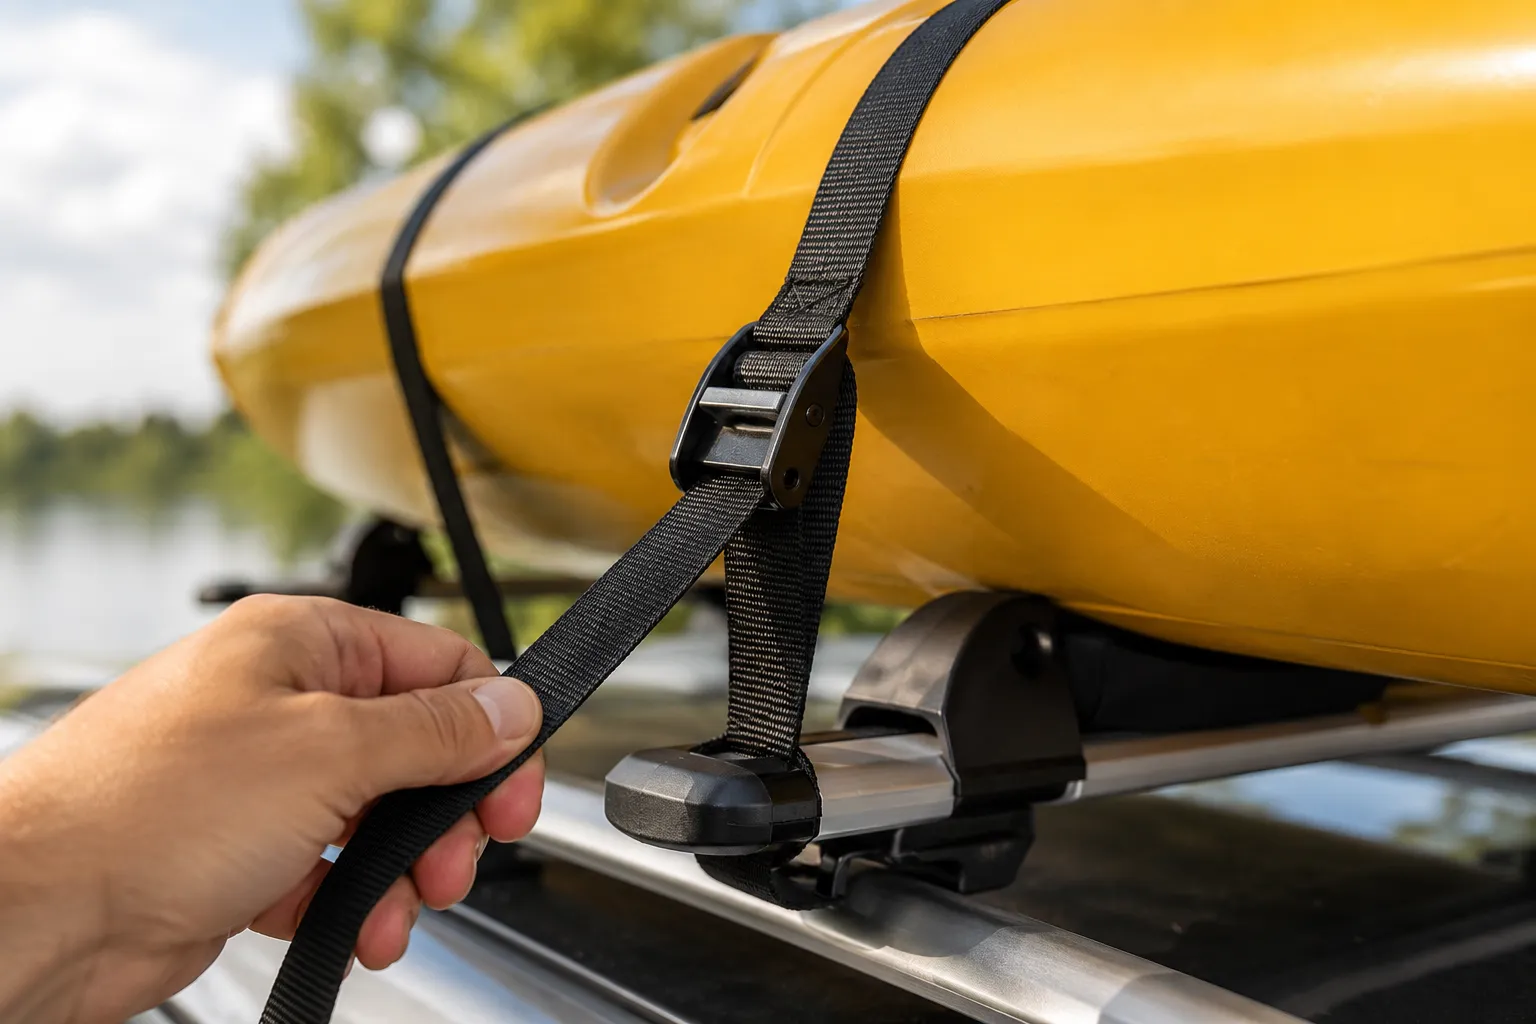
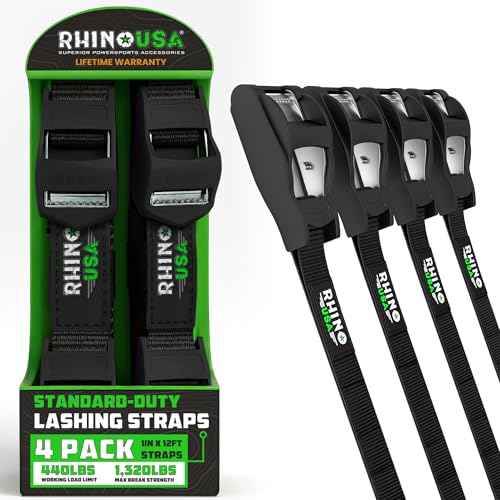
SILICONE-COVERED CAM BUCKLE STRAPS – Protective silicone housing helps prevent scratches on vehicle paint and gear while securing loads. Cam buckle design allows quick tightening and release without ratchet tools.

[WIDELY USED] Essential gear for securing cargo during travel, moving, and outdoor adventures. Widely used to fasten motorcycles, bicycles, kayaks, SUPs, surfboards, coolers, luggage, camping equipment, and household items, these versatile straps excel on car roof racks, trailers, and boats—perfect for transporting sports gear, securing loads, or joining beds.
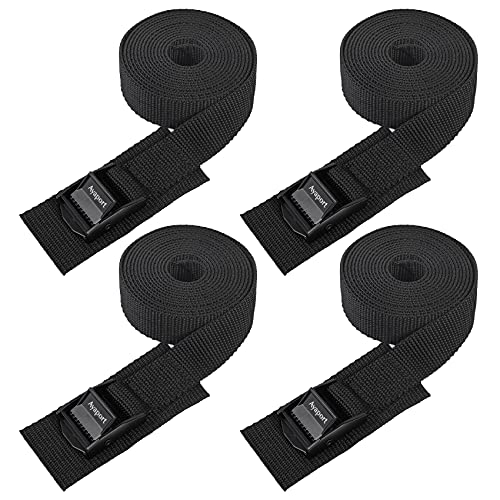
LIGHTWEIGHT BUT STURDY. Made from unique cam buckles and strong brine yarn webbing, these lashing tie down straps are lightweight for easy carry & storage, and super sturdy to offer a long-term performance
Cam Straps vs Ratchet Straps: Which Is Better for Kayaks?
Cam straps are better for kayak transport because they make it nearly impossible to over-tighten and damage the hull, while ratchet straps can easily apply excessive force that deforms plastic kayaks. Cam straps use a spring-loaded buckle that relies on friction and your hand strength to maintain tension, whereas ratchet straps use a mechanical advantage that can generate hundreds of pounds of crushing force.
Most kayak hull damage during transport comes from over-tightened ratchet straps that create pressure points and permanent indentations. Cam straps eliminate this risk while still providing more than enough holding power for highway speeds.
Cam strap advantages:
- Self-limiting tension prevents hull damage
- Faster to use, no ratcheting required
- Quieter during transport (no metal clanking)
- Easier to release after long trips
- Typically 1-inch wide, which distributes pressure well
When ratchet straps make sense:
- Transporting very heavy kayaks (over 100 pounds)
- Securing multiple kayaks stacked together
- Long-distance trips where you want maximum security
If you use ratchet straps: Only ratchet until the kayak is secure, typically 2-3 clicks past snug. Never ratchet until the strap is bar-tight or you see the hull compressing.
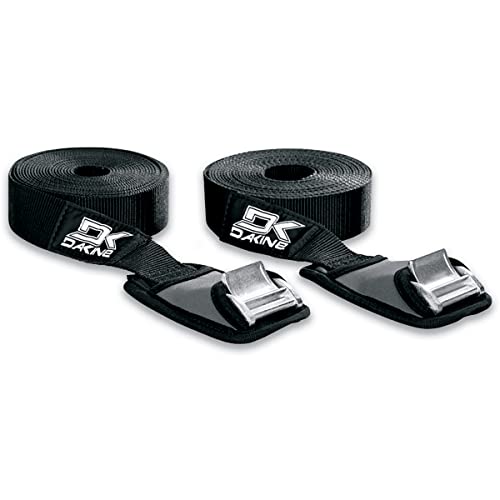

ULTRA-SECURE, NON-DAMAGING TENSION – Cam straps offer dependable hold without over-tightening or damaging kayaks and gear, unlike aggressive ratchet straps
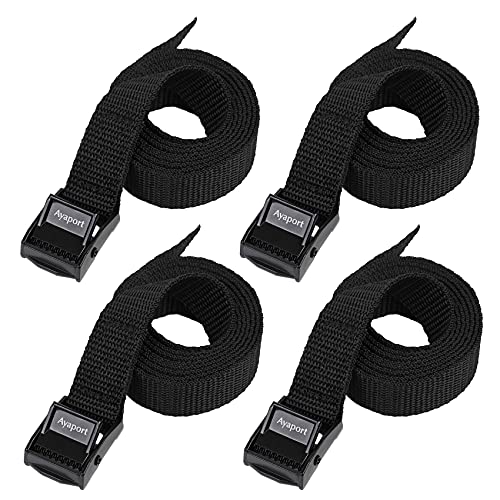
LIGHTWEIGHT BUT STURDY. Made from unique cam buckles and strong brine yarn webbing, these lashing tie down straps are lightweight for easy carry & storage, and super sturdy to offer a long-term performance
How Tight Should Kayak Straps Be Without Damaging the Hull?
Kayak straps should be tight enough that the kayak doesn’t move when you push it firmly from the side, but loose enough that you can still press the hull down slightly (about 1/4 inch) with your hand. If you see visible deformation of the hull or can’t press it down at all, the straps are too tight.
The goal is to compress the padding on your crossbars and create friction between the kayak and rack, not to squeeze the kayak itself. Proper tension feels snug and secure but not rigid.
Testing strap tension:
- Push test: Stand beside the kayak and push it side to side, it shouldn’t rock or slide
- Press test: Press down on the hull between the straps, you should feel slight give
- Visual check: Look at the hull where straps cross, the surface should be flat, not indented
- Lift test: Try to lift one end of the kayak, the whole rack system should lift with it
Hull material considerations:
- Polyethylene kayaks (most fishing kayaks) can handle moderate strap pressure but will deform if over-tightened, especially in hot weather
- Composite kayaks (fiberglass, carbon) are more rigid but can crack under point loads
- Inflatable kayaks require minimal strap pressure, just enough to prevent sliding
Temperature matters: Plastic hulls become more pliable in hot weather. Straps that feel perfect in the morning might be too tight after sitting in the sun. Check and adjust tension before driving if your kayak has been in direct sunlight.

Quality Material: our paddle board straps are engineered with quality nylon, plastic, and stainless steel for an enhanced lifespan and durability; The rigorous selection of materials ensures the storage straps have strong load bearing capacity, are stable, and don't wobble, providing you with years of reliable use

Easy to Use: The 1/4" retractable ratchet straps heavy duty tightening and releasing is quick and easy, and two S hooks eliminate the time to make a knot. Simply attach the two hooks on the anchor points and pull tight

Cartman 12-foot long-by-1-inch wide lashing strap in 6-pack
Do I Need Bow and Stern Lines for My Kayak?
Yes, you need bow and stern lines for any kayak transport at highway speeds or in windy conditions. These lines prevent the kayak from sliding forward during hard braking or backward during acceleration, and they provide critical backup security if a cam strap fails or loosens during transport.
Bow and stern lines are required by law in some states and are considered standard safety practice by kayak manufacturers. They take less than two minutes to attach and have prevented countless kayaks from becoming dangerous highway projectiles.
When bow and stern lines are essential:
- Highway driving (speeds over 45 mph)
- Long-distance transport (over 30 minutes)
- Windy conditions or open highway
- Transporting expensive kayaks
- Any time you’re carrying gear inside the kayak
Proper bow and stern line setup:
- Use 1/4-inch or thicker rope or dedicated kayak tie-down straps
- Attach to the kayak’s built-in carry handles or through-hull toggles at each end
- Run lines at roughly 45-degree angles to attachment points on your vehicle
- Create slight tension, lines should be taut but not pulling the kayak forward or backward
- Tie with secure knots (bowline, trucker’s hitch, or use cam buckle straps)
What happens without them: A kayak secured only with cam straps can slide forward during emergency braking, potentially hitting your windshield or flying off the front of your vehicle. Wind can also work straps loose over long distances.
Kayak Moving Side to Side on Roof Rack: How to Fix
A kayak moving side to side on a roof rack means your cam straps aren’t tight enough, your crossbars are too far apart, or the kayak isn’t properly centered on the rack. Fix it by repositioning the kayak so it sits evenly on both crossbars, then tighten the cam straps until the kayak doesn’t rock when you push it firmly from either side.
Side-to-side movement creates dangerous instability at highway speeds and can damage both your kayak and vehicle through constant rubbing and stress.
Troubleshooting side-to-side wobble:
Problem: Kayak rocks on the crossbars
- Solution: Ensure crossbars are 24-36 inches apart and the kayak sits flat on both
- Add padding to crossbars if they’re too narrow for the hull shape
Problem: Straps are tight but kayak still moves
- Solution: Straps may be positioned too close together, move them closer to the crossbars
- Check that straps run perpendicular to the kayak, not at an angle
Problem: Kayak is wider than the crossbars
- Solution: Use kayak saddles or J-cradles that match your hull width
- Consider a wider roof rack system
Problem: Round-bottom kayak won’t sit stable
- Solution: Use foam blocks or kayak saddles that cradle the hull shape
- Position the kayak slightly angled if it has a pronounced keel
Quick fix on the road: If you notice wobble during a trip, pull over and re-tighten straps. Check that the kayak hasn’t shifted and is still centered on both crossbars.
Can You Transport a Kayak Without a Roof Rack?
Yes, you can transport a kayak without a roof rack by using foam blocks that sit on your car’s roof with the kayak resting on top, secured by cam straps that run through your vehicle’s interior. This method works for occasional transport but isn’t as stable or secure as a proper roof rack system.
Foam blocks (also called kayak blocks) are dense foam pads shaped to cradle a kayak hull. You place them on your roof, position the kayak on top, then run straps over the kayak and through your car’s interior (through open doors), buckling them inside.
Foam block transport steps:
- Clean your roof to prevent scratching the paint
- Position two foam blocks about 3-4 feet apart on the roof
- Place the kayak hull-down on the blocks, centered on your vehicle
- Open all four doors slightly
- Run cam straps over the kayak and through the vehicle interior
- Buckle straps inside the vehicle and tighten until snug
- Close doors carefully on the straps (use the door seal, not the frame)
- Add bow and stern lines, these are even more critical without a rack
Limitations of foam blocks:
- Less stable than a roof rack, especially at highway speeds
- Straps running through doors can damage weather sealing over time
- Not suitable for long-distance or regular transport
- Can’t carry multiple kayaks
- Some vehicles have roof shapes that don’t work well with foam blocks
Better alternatives: Temporary roof rack systems like the Malone HandiRack or Thule Hullavator use suction cups or straps to create a more stable platform than foam blocks alone.
What Mistakes Do People Make When Tying Down Kayaks?
The most common mistakes when tying down kayaks are over-tightening ratchet straps (causing hull damage), skipping bow and stern lines (allowing the kayak to slide), running straps at angles instead of perpendicular to the hull (reducing holding power), and failing to check strap tension after the first 10 minutes of driving (when straps settle and can loosen).
These mistakes range from minor inconveniences to dangerous situations where kayaks come loose at highway speeds.
Top tie-down mistakes and fixes:
Mistake 1: Over-tightening straps
- Creates permanent hull deformation and stress cracks
- Fix: Use cam straps instead of ratchet straps, tighten only until snug
Mistake 2: No bow and stern lines
- Kayak can slide forward or backward, especially during braking
- Fix: Always use four-point tie-down system for highway transport
Mistake 3: Straps positioned incorrectly
- Straps in the middle of the kayak instead of near crossbars
- Fix: Place straps just behind front crossbar and just ahead of rear crossbar
Mistake 4: Straps running at angles
- Reduces holding power and can cause uneven pressure
- Fix: Ensure straps cross the hull perpendicular to the kayak’s length
Mistake 5: Not checking after 10 minutes
- Straps settle and loosen slightly during initial driving
- Fix: Pull over after 10 minutes and re-check all strap tension
Mistake 6: Attaching lines to door frames
- Can damage doors and isn’t secure
- Fix: Use hood loops, tow hooks, or install tie-down anchors
Mistake 7: Transporting hull-up
- Creates more wind resistance and less stable contact with rack
- Fix: Always transport hull-down unless using J-cradles designed for side storage
How to Tie Down a Kayak on a Short Car
To tie down a kayak on a short car, position the kayak so it overhangs equally front and rear (keeping the center of the kayak over the center of your roof), use foam blocks or a roof rack with crossbars spaced as far apart as your roof allows, and add extra-secure bow and stern lines since more of the kayak extends beyond your vehicle. Attach a red flag to any overhang exceeding 4 feet beyond your rear bumper.
Short cars (compact sedans, small hatchbacks) can safely transport kayaks up to 14 feet long, but the overhang requires extra attention to tie-down security and visibility.
Short car transport tips:
Positioning:
- Center the kayak’s midpoint over your roof’s midpoint
- Equal front and rear overhang distributes weight and wind load evenly
- Avoid positioning the kayak too far forward or back
Strap placement:
- Use crossbars or foam blocks spaced as far apart as possible (typically 24-30 inches on small cars)
- This shorter span means straps have less leverage, so check tension carefully
Bow and stern lines are critical:
- With significant overhang, these lines carry more load
- Use thicker rope (3/8-inch) or heavy-duty tie-down straps
- Attach to tow hooks or frame-mounted points, never bumper covers
Legal requirements:
- Most states require a red flag on any load extending more than 4 feet beyond the rear bumper
- Some states have maximum overhang limits (typically 3-4 feet front, 6 feet rear)
- Check local regulations before long trips
Driving considerations:
- Reduce highway speed by 5-10 mph due to increased wind resistance
- Allow extra braking distance
- Be aware of overhang when parking or entering garages
Is It Safe to Stack Two Kayaks on Top of Each Other?
Yes, it’s safe to stack two kayaks on top of each other if you place padding between them, position the bottom kayak hull-down and the top kayak hull-up, and use straps that secure both kayaks together and to the roof rack. The combined weight must not exceed your roof rack’s weight capacity (typically 150-200 pounds for most vehicles).
Stacking kayaks is common for families or fishing partners who need to transport multiple boats on one vehicle.
Proper kayak stacking method:
- Place the first kayak hull-down on the rack (bottom facing the crossbars)
- Add padding, foam blocks, pool noodles, or towels on top of the first kayak
- Place the second kayak hull-up (bottom facing the sky) on top of the first
- Nest them together, the bottom of the top kayak should sit in the cockpit area of the bottom kayak
- Strap both together, run cam straps over both kayaks and around the crossbars
- Use at least 3-4 straps for stacked kayaks (more than you’d use for one)
- Add bow and stern lines from both kayaks if possible, or at minimum from the top kayak
Weight and capacity considerations:
- Check your vehicle’s roof weight limit (usually in the owner’s manual)
- Most factory roof racks support 150 pounds; aftermarket racks often support 200+ pounds
- Two fishing kayaks can easily exceed 150 pounds combined
- Consider the weight of any gear inside the kayaks
When not to stack:
- If combined weight exceeds your roof capacity
- If either kayak has a very wide beam (over 36 inches)
- If you’re uncomfortable with the height (harder to load and unload)
- For long highway trips where aerodynamics matter
Alternative: Side-by-side carriers (J-cradles or saddles) let you transport two kayaks next to each other, which is more stable and easier to load.
Where to Attach Bow and Stern Lines on a Car Without Hooks
On a car without tow hooks, attach bow lines to hood loops (metal loops under the front edge of the hood), frame-mounted tie-down anchors (if your vehicle has them), or through the gap where the hood latches to the frame. For stern lines, attach to the rear tow hook (often hidden behind a removable bumper cover panel), trailer hitch receiver, or frame-mounted rear tie-down points.
Never attach bow or stern lines to bumper covers, license plate brackets, or any plastic body panels, these aren’t structural and can tear off under load.
Front attachment options (in order of preference):
- Hood loops, Many vehicles have metal loops bolted to the frame under the front edge of the hood
- Tow hooks, Some cars have front tow hooks behind removable bumper panels
- Frame tie-down anchors, Aftermarket anchors that bolt to the frame through existing holes
- Hood latch loop, As a last resort, loop rope through the gap where the hood latches (not around the latch itself)
Rear attachment options:
- Rear tow hook, Check behind removable panels in the rear bumper
- Trailer hitch receiver, If you have a hitch, use a hitch-mounted tie-down anchor
- Rear tie-down anchors, Bolt-on anchors that attach to the frame
- Trunk/hatch latch loop, Loop through the latch mechanism (not ideal but works in a pinch)
Installing aftermarket tie-down anchors:
Products like the Yakima EasyTop or Thule Transporter use straps that wrap around the door frames and provide tie-down points. These work but should be used with caution, they’re better than nothing but not as secure as frame-mounted points.
What not to use:
- Bumper covers (plastic and will tear off)
- License plate brackets (not strong enough)
- Door handles (can damage doors)
- Roof rack crossbars for bow/stern lines (defeats the purpose of backup security)
Kayak Strap Rubbing Against Hull: Will It Cause Damage?
Kayak straps rubbing against the hull during transport typically won’t cause damage if you’re using proper 1-inch or wider cam straps, because the wide webbing distributes pressure over a large surface area and modern kayak hulls are designed to handle this contact. However, narrow straps (under 1 inch), twisted straps, or straps with metal buckles directly against the hull can cause scratches, wear marks, or stress points over time.
The key is using the right type of strap and ensuring it lies flat against the hull without twisting.
When strap contact is safe:
- Wide cam straps (1-inch or wider) lying flat
- Straps positioned over reinforced areas of the hull
- Proper tension (snug but not crushing)
- Padded crossbars underneath distributing the load
When to add protection:
- If you see wear marks developing after multiple trips
- When transporting expensive composite kayaks
- If your straps are narrower than 1 inch
- When using ratchet straps with metal buckles
Protective options:
- Stick-on hull protection tape where straps contact the hull
- Foam strap sleeves that wrap around the webbing
- Towels or rags between the strap and hull (though these can slip)
- Kayak saddles or J-cradles that change the contact points
Real damage risks:
The bigger risk isn’t the strap rubbing but rather over-tightening that creates pressure points, or straps positioned over weak areas of the hull (like thin plastic near the cockpit rim). Focus on proper tension and positioning rather than worrying about normal strap contact.
How to Transport a Kayak in Bad Weather or High Winds
To transport a kayak in bad weather or high winds, reduce your highway speed by 10-15 mph, double-check all strap tension before departure, ensure bow and stern lines are secure and taut, and position the kayak hull-down to minimize wind resistance. Consider delaying your trip if sustained winds exceed 40 mph, as crosswinds can make any roof-loaded vehicle difficult to control.
Wind creates lift under the kayak and side forces that stress your tie-down system. Proper preparation and adjusted driving make bad-weather transport safe.
Pre-trip preparation for bad weather:
- Inspect all straps and lines for wear or damage
- Tighten everything slightly more than you would for calm conditions
- Remove any gear from inside the kayak (reduces weight and wind catch)
- Check weather and wind forecasts for your route
- Plan for extra travel time due to reduced speeds
Driving adjustments in high winds:
- Reduce speed: Drop 10-15 mph below your normal highway speed
- Grip the wheel firmly: Crosswinds can push your vehicle suddenly
- Avoid sudden movements: Smooth steering and braking reduce stress on tie-downs
- Watch for wind gusts: Bridges, gaps between buildings, and open areas create sudden gusts
- Increase following distance: You need more room to react
When to delay or cancel:
- Sustained winds over 40 mph
- Wind gusts over 60 mph
- Severe thunderstorm warnings along your route
- Any conditions where you feel uncomfortable driving
Rain-specific considerations:
Rain itself doesn’t affect kayak transport much, but wet straps can loosen slightly as they absorb water. Check strap tension after 15-20 minutes of driving in rain. Visibility is your bigger concern, make sure your kayak doesn’t block your view, and consider adding reflective tape or a flag for visibility to other drivers.
Do Foam Blocks Work for Kayak Transport?
Yes, foam blocks work for kayak transport as a temporary or occasional solution, providing adequate support and protection for short trips and local paddling. However, they’re less secure than a proper roof rack system, require straps to run through your vehicle’s interior, and aren’t recommended for highway speeds, long distances, or regular use.
Foam blocks are dense foam pads (typically sold in pairs) that sit on your car’s roof and cradle the kayak’s hull. They’re popular because they’re inexpensive ($20-40 per set) and work on any vehicle without requiring permanent installation.
Foam block advantages:
- Inexpensive: Cost a fraction of a roof rack system
- Universal fit: Work on any vehicle with a roof
- No installation: Just place them and go
- Protect paint: Soft foam won’t scratch your vehicle
- Portable: Easy to store and move between vehicles
Foam block limitations:
- Less stable: Kayak can shift more than on a rack
- Strap routing: Straps must run through your car’s interior, which is awkward
- Door seal wear: Closing doors on straps can damage weather sealing over time
- Speed limits: Not recommended for sustained highway speeds over 55 mph
- Single kayak only: Can’t stack or carry multiple boats
- No accessories: Can’t add fishing rod holders or other rack accessories
Best practices with foam blocks:
- Space them 3-4 feet apart for maximum stability
- Use high-quality cam straps (at least 1-inch wide)
- Add bow and stern lines, even more important than with a rack
- Check strap tension frequently, every 15-20 minutes on longer trips
- Drive conservatively, reduce speed and avoid sudden maneuvers
- Protect door seals, place straps in the door seal groove, not across the frame
When foam blocks make sense:
- Occasional paddling (a few times per season)
- Short trips to local lakes or rivers
- Rental kayaks or borrowed boats
- Testing kayak transport before investing in a rack
- Backup option when traveling without your regular vehicle
When to upgrade to a roof rack:
- Regular paddling (weekly or more)
- Highway travel or long distances
- Multiple kayaks
- Expensive kayaks you want maximum security for
- When you want to add accessories like rod holders
Frequently Asked Questions
How many straps do I need to secure a kayak?
You need a minimum of two cam straps across the hull plus bow and stern lines for a total four-point tie-down system. Some kayakers use three or four straps across the hull for extra security on long trips, but two properly positioned straps plus bow and stern lines are sufficient for most transport situations.
Can I transport a kayak upside down?
Yes, you can transport a kayak upside down (hull-up), but hull-down is generally better because it provides more stable contact with the rack and better aerodynamics. Hull-up transport works well with J-cradles or when stacking multiple kayaks, but requires the same strap and line security as hull-down positioning.
How fast can I drive with a kayak on my roof?
You can safely drive at normal highway speeds (65-75 mph) with a properly secured kayak on a roof rack, though reducing speed by 5-10 mph improves fuel economy and reduces wind noise. With foam blocks instead of a rack, limit speed to 55 mph. Always reduce speed in high winds regardless of your tie-down system.
Do I need to remove my kayak from the roof every night?
You don’t need to remove your kayak from the roof every night for short periods (a few days), but prolonged roof storage (weeks or months) can damage both the kayak and your vehicle. UV exposure degrades plastic hulls, straps can loosen over time, and the constant weight stresses your roof rack. Remove the kayak when not actively using it for trips.
Can I open my sunroof with a kayak on the roof?
Whether you can open your sunroof with a kayak on the roof depends on your specific vehicle and rack setup. Most crossbar systems position the kayak high enough to allow sunroof operation, but check clearance before driving. Never operate the sunroof if straps run across it or if the kayak sits low enough to interfere with the opening mechanism.
What’s the maximum overhang allowed for kayak transport?
Maximum overhang laws vary by state, but most allow 3-4 feet beyond the front bumper and 4-6 feet beyond the rear bumper without special permits or flags. Any rear overhang exceeding 4 feet typically requires a red flag or reflective marker. Check your state’s specific regulations before transporting long kayaks on short vehicles.
Should I lock my kayak to my roof rack?
Yes, you should lock your kayak to your roof rack if leaving it unattended in public areas, using locking cable systems or locking straps designed for kayak security. However, locks are deterrents rather than absolute security, a determined thief can cut straps or cables. Never leave expensive kayaks on your vehicle overnight in high-crime areas.
Can I transport a kayak on its side?
Yes, you can transport a kayak on its side using J-cradles or J-bars designed for side storage, which is actually more space-efficient and allows you to carry multiple kayaks. Side transport requires the same bow and stern lines as hull-down transport and works best with kayaks that have rigid hulls rather than flexible plastic that might deform.
How do I know if my roof can support a kayak?
Most vehicles can support a kayak’s weight (50-100 pounds for fishing kayaks) within their roof load capacity, which is typically 150-200 pounds including the rack system. Check your vehicle owner’s manual for the specific dynamic roof load rating. If your kayak plus rack plus any gear exceeds this number, you risk damaging your roof or rack system.
What happens if a strap breaks while driving?
If a strap breaks while driving, your bow and stern lines serve as backup security to prevent the kayak from flying off your vehicle. This is why the four-point tie-down system is essential, no single point of failure can cause complete loss of the kayak. If you hear or feel something wrong, safely pull over immediately and inspect all tie-down points.
Can I use bungee cords instead of cam straps?
No, never use bungee cords as primary kayak tie-downs because they stretch under load, can snap and cause injury, and don’t provide the consistent tension needed for secure transport. Bungee cords are only appropriate for securing lightweight gear inside the kayak, never for attaching the kayak to your vehicle.
How do I transport a kayak with a spoiler?
To transport a kayak on a car with a rear spoiler, ensure your rear crossbar clears the spoiler (most rack systems do), and attach stern lines to rear tow hooks or frame points rather than trying to loop around the spoiler. The spoiler itself isn’t a structural attachment point and shouldn’t have lines or straps wrapped around it.
Conclusion
Learning how to tie down a kayak properly protects your investment, keeps other drivers safe, and gives you peace of mind on every trip to the water. The four-point system, two cam straps across the hull plus bow and stern lines, is the gold standard that works for every kayak type and vehicle combination. Start with quality cam straps rather than ratchet straps to avoid the most common mistake of over-tightening, position your kayak hull-down on padded crossbars, and always add those bow and stern lines even for short trips.
Before your next paddling adventure, take ten minutes to inspect your tie-down system: check straps for wear, ensure your crossbar padding is intact, and verify you have proper attachment points for bow and stern lines. If you’re currently using foam blocks, consider upgrading to a permanent roof rack system if you paddle regularly, the improved security and convenience pay for themselves quickly.
The most important habit is checking your tie-down tension after the first 10 minutes of driving and again at any rest stops. Straps settle, knots tighten, and conditions change, but a quick visual inspection and tension check takes less than a minute and prevents the vast majority of transport problems. With proper technique and regular checks, you’ll transport your kayak safely for thousands of miles and countless fishing trips.





